

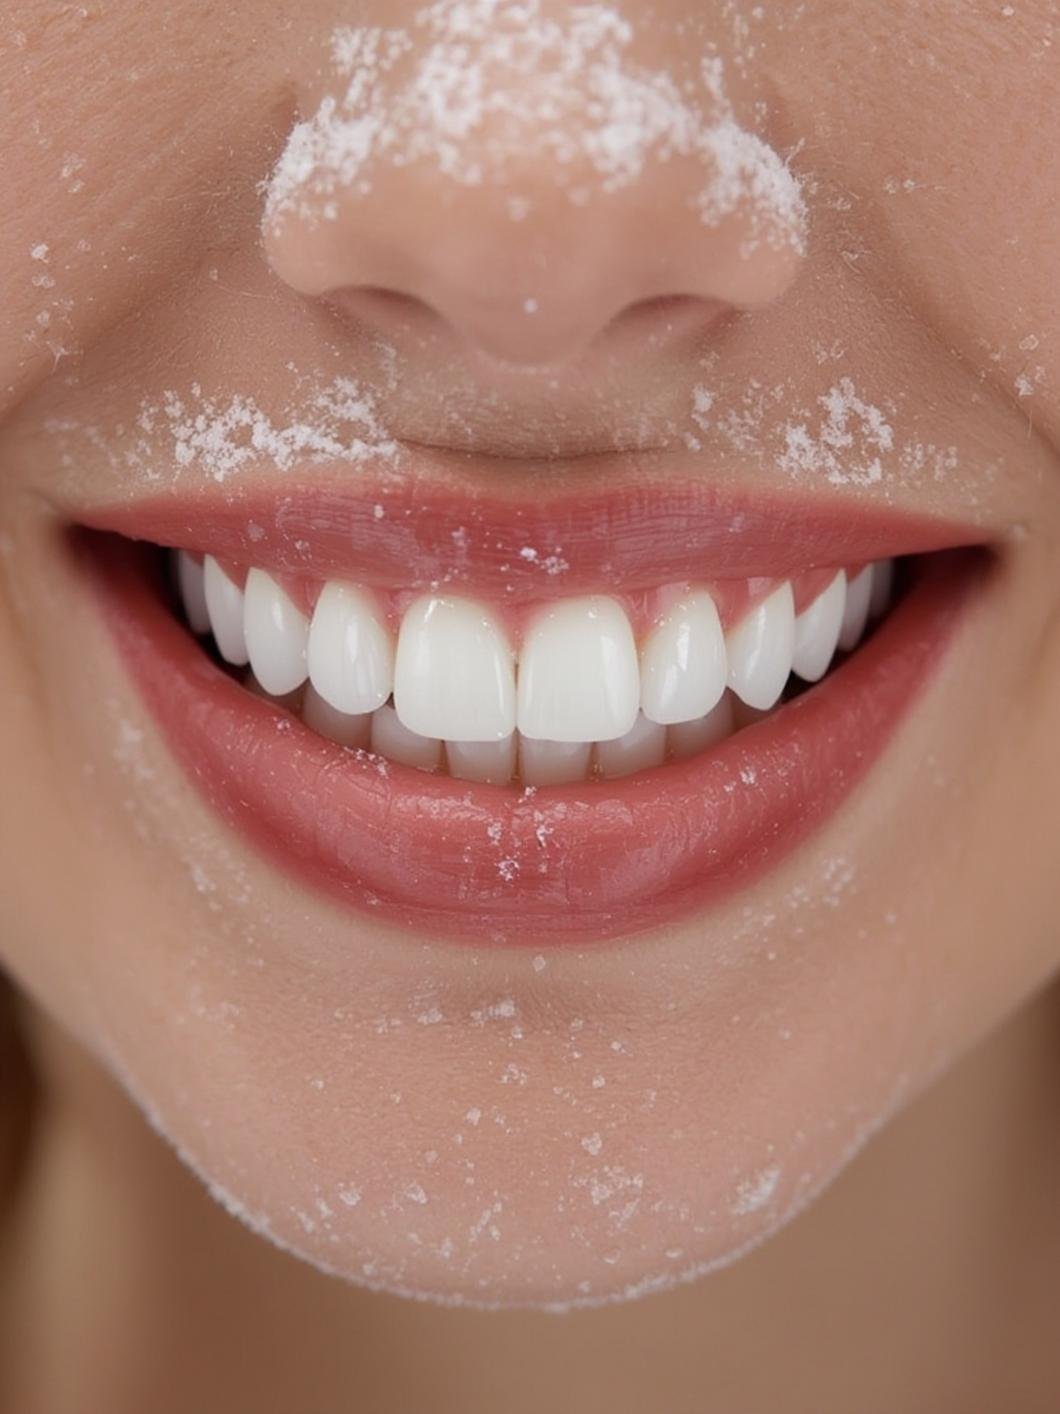
Are you tired of feeling self-conscious about your smile? Do you wish you had a brighter, more radiant grin? Using a snow teeth whitening kit for At-home whitening can be a valuable investment in your self-care and confidence. With the right tools and techniques, you can achieve professional-grade results from the comfort of your own home, saving you time and money in the long run.


Materials & Supplies
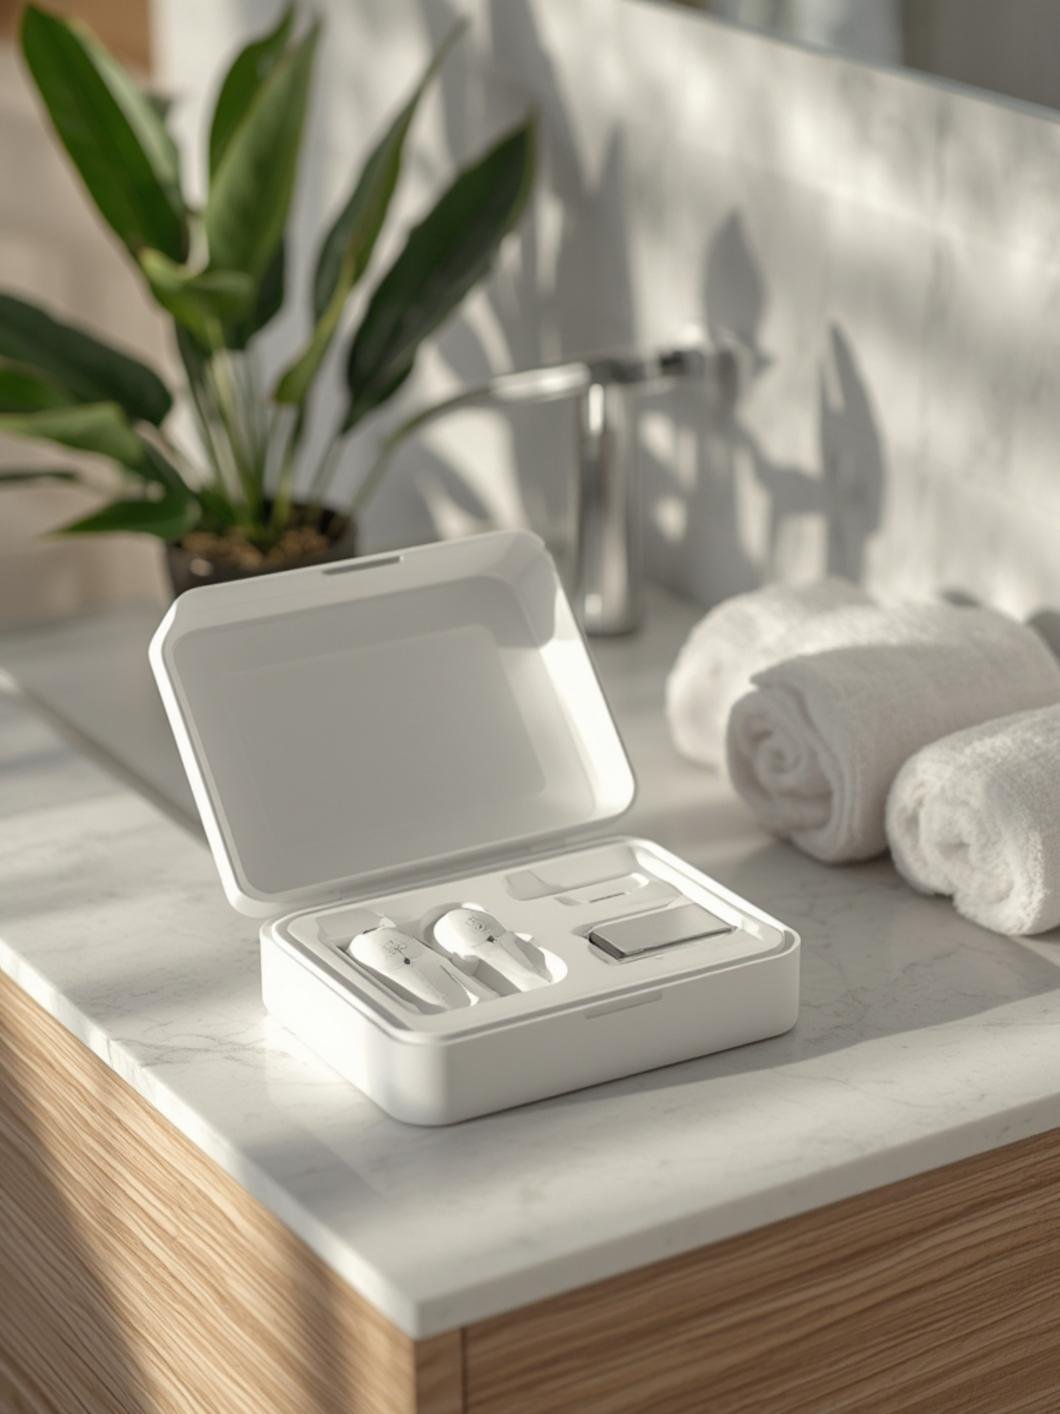
To get started with your at-home whitening routine, you’ll need a few essential materials and supplies. These include:
– A snow teeth whitening kit, which typically comes with applicators, a whitening gel, and instructions.
– A toothbrush and toothpaste for pre-treatment cleaning.
– A dental mirror for better visibility.
– A timer to ensure you’re applying the treatment for the recommended amount of time.
– Gloves to protect your hands from the whitening gel.
– A headband or hair tie to keep your hair out of your face.
Each of these items plays a crucial role in achieving the best possible results. The snow teeth whitening kit is the primary device for At-home whitening, while the toothbrush and toothpaste are necessary for pre-treatment cleaning. The dental mirror, timer, gloves, and headband or hair tie are all useful for ensuring a safe and effective application process.
Preparation & Timing
Preparation is key when it comes to at-home whitening. Before applying the treatment, make sure to brush and floss your teeth to remove any plaque or debris. This will help the whitening gel penetrate more evenly and effectively. The entire process, from preparation to post-treatment care, should take around 30-60 minutes. Planning your routine in advance will help you get the best results and ensure that you have enough time for each step.
Step-by-Step Instructions
To use your snow teeth whitening kit for At-home whitening, follow these steps:
1. Brush and floss your teeth to remove any plaque or debris.
2. Apply the whitening gel to the applicators, following the instructions provided with your kit.
3. Place the applicators in your mouth, making sure they’re comfortable and evenly spaced.
4. Leave the applicators in for the recommended amount of time, usually 15-30 minutes.
5. Remove the applicators and rinse your mouth with water.
6. Repeat the process as directed, usually 1-2 times per day for several days.
Beauty Benefits / Advantages
Using a snow teeth whitening kit for At-home whitening can have several benefits, including improved confidence and a brighter, more radiant smile. At-home whitening can also be more convenient and cost-effective than professional whitening treatments. To get the most out of your at-home whitening routine, be sure to follow the instructions carefully and take good care of your teeth and gums.
Personal Care Advice
To maintain your results and keep your teeth and gums healthy, be sure to brush and floss regularly and visit your dentist for regular check-ups. You can also adapt your at-home whitening routine to fit your lifestyle and preferences. For example, you can use your snow teeth whitening kit in the morning or evening, depending on your schedule and preferences. Be sure to follow the instructions carefully and take breaks as needed to avoid sensitivity.
Common Mistakes to Avoid
When using a snow teeth whitening kit for At-home whitening, there are several common mistakes to avoid. These include overusing the whitening gel, not following the instructions carefully, and not taking good care of your teeth and gums. To avoid these mistakes, be sure to read the instructions carefully and follow them exactly. You should also take good care of your teeth and gums by brushing and flossing regularly and visiting your dentist for regular check-ups.
Product Care & Maintenance Tips
To keep your snow teeth whitening kit in good condition and ensure it lasts as long as possible, be sure to store it in a cool, dry place and follow the instructions for use and care. You should also check the expiration date of the whitening gel and replace it as needed. By following these tips, you can help ensure that your at-home whitening routine is safe and effective.
Conclusion
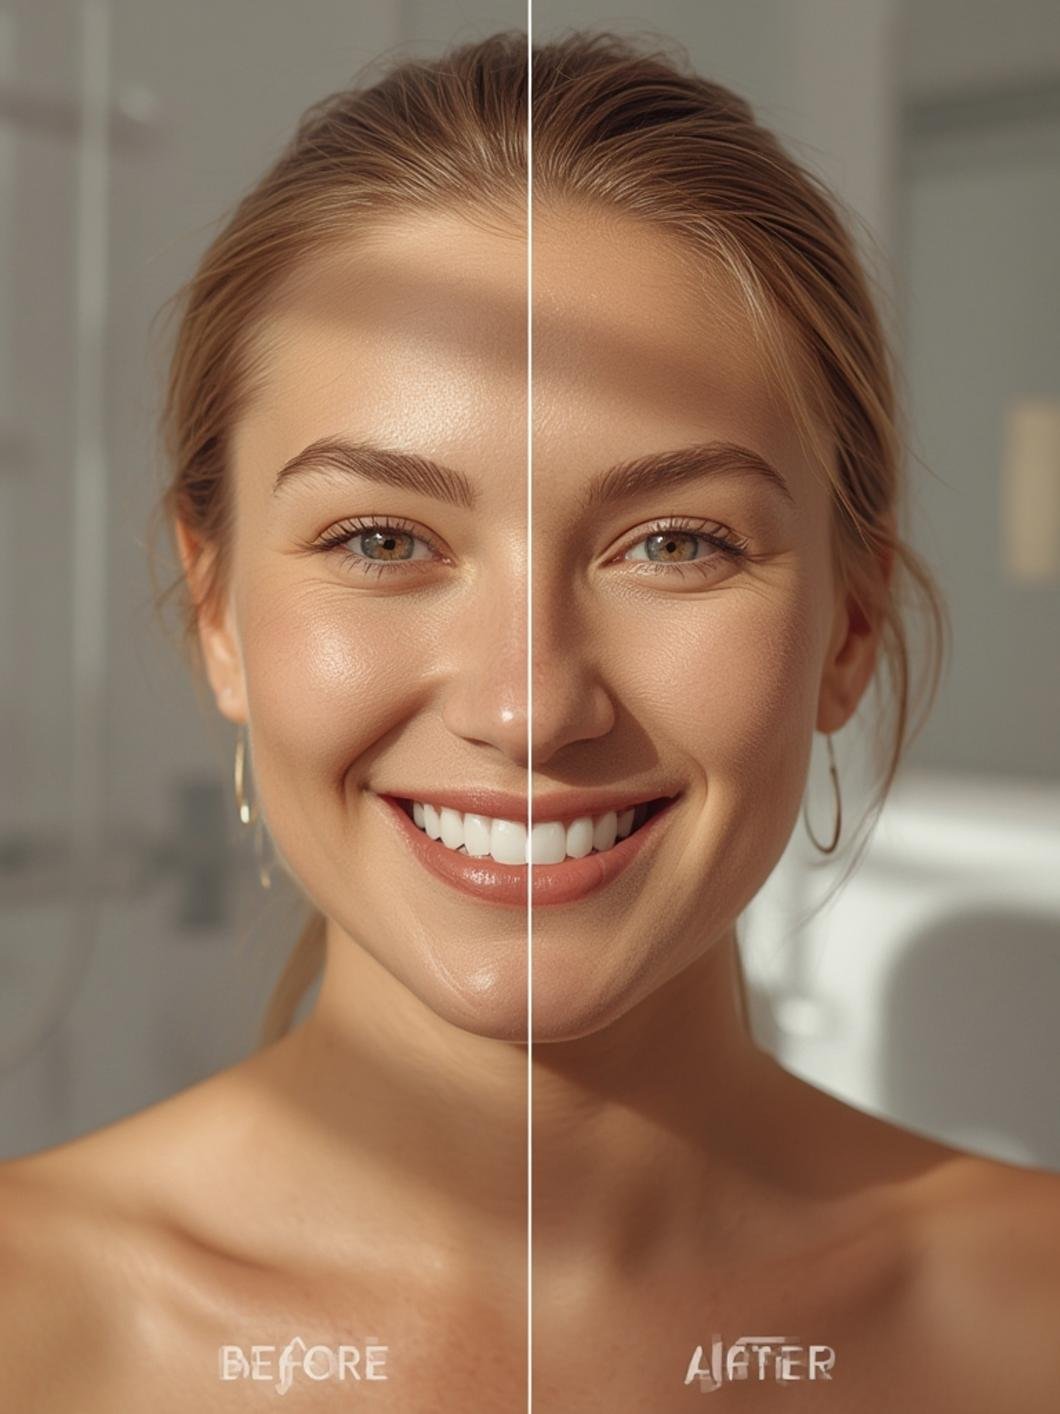
In conclusion, using a snow teeth whitening kit for At-home whitening can be a great way to improve your confidence and achieve a brighter, more radiant smile. By following the instructions carefully and taking good care of your teeth and gums, you can get professional-grade results from the comfort of your own home. We encourage you to try this transformation and share your results with us.
FAQs
Here are some common questions and answers about using a snow teeth whitening kit for At-home whitening:
1. Q: Is at-home whitening safe?
A: Yes, at-home whitening is generally safe when done correctly. However, it’s possible to experience sensitivity or other side effects, so be sure to follow the instructions carefully and take good care of your teeth and gums.
2. Q: How often can I use my snow teeth whitening kit?
A: The frequency of use will depend on the specific product and your individual needs. Be sure to follow the instructions provided with your kit and take breaks as needed to avoid sensitivity.
3. Q: Can I use my snow teeth whitening kit if I have sensitive teeth?
A: If you have sensitive teeth, you may need to take extra precautions when using your snow teeth whitening kit. Be sure to follow the instructions carefully and take breaks as needed to avoid sensitivity.
4. Q: How long do the results of at-home whitening last?
A: The results of at-home whitening can last for several months, depending on your individual needs and how well you take care of your teeth and gums. To maintain your results, be sure to brush and floss regularly and visit your dentist for regular check-ups.
5. Q: Is at-home whitening as effective as professional whitening?
A: At-home whitening can be very effective, but it may not be as effective as professional whitening in some cases. Be sure to follow the instructions carefully and take good care of your teeth and gums to get the best results.