

Unlock Your Best Curls Yet: The Secret to Defined, Frizz-Free Hair at Home
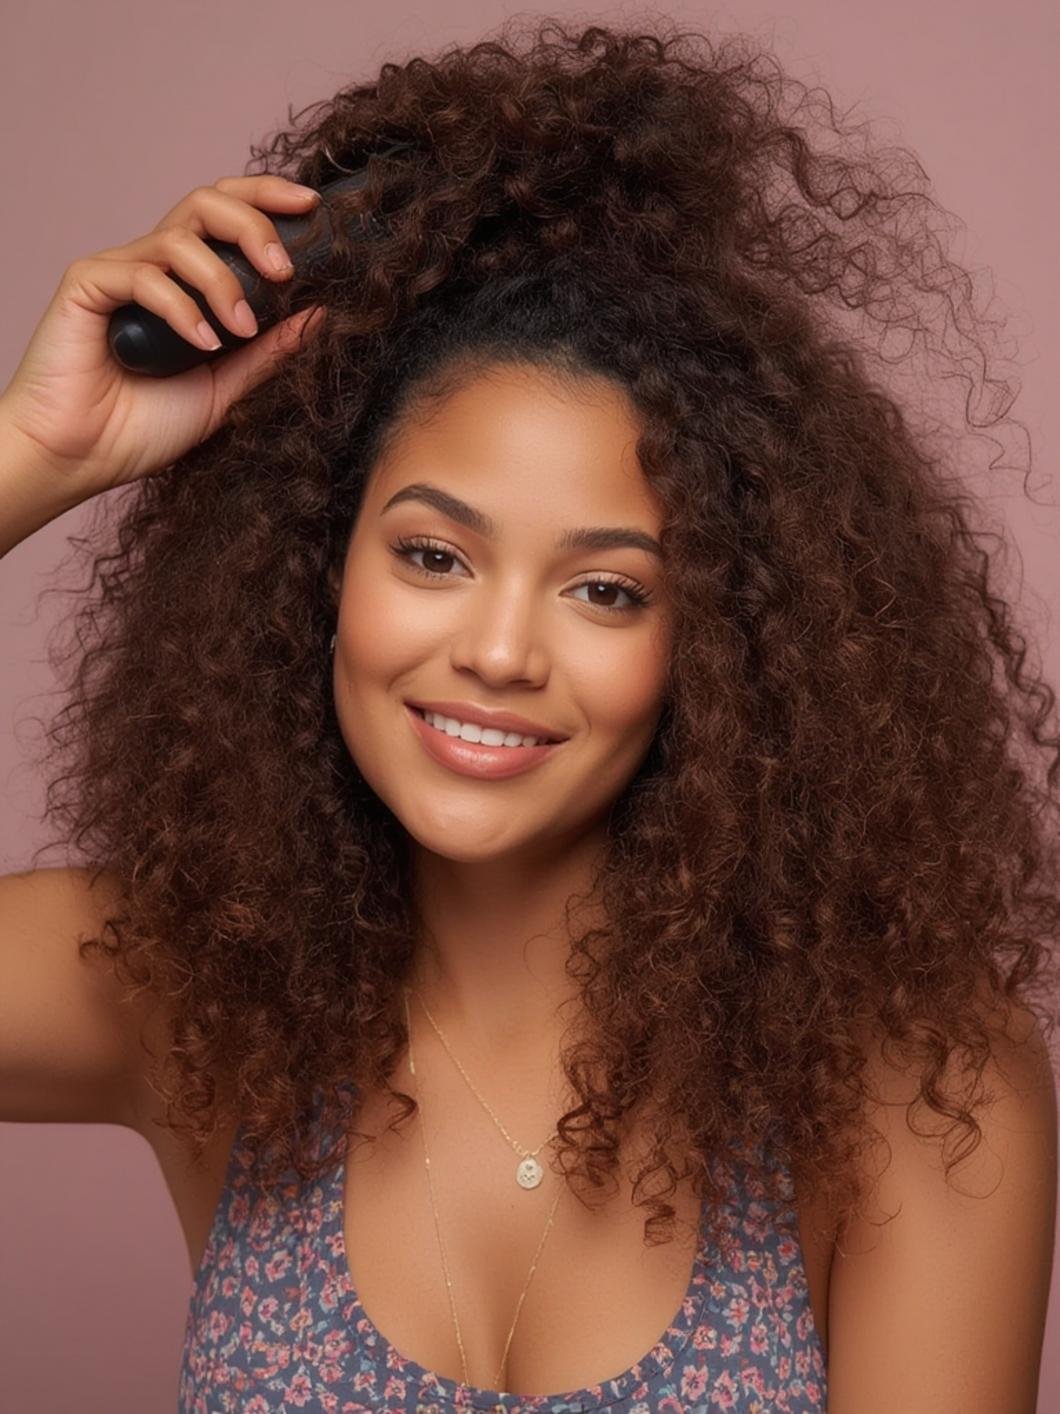
Do you ever stare in the mirror after washing your hair, only to be met with a halo of frizz, undefined waves, or a lack of bounce? You’re not alone. For anyone with wavy, curly, or coily hair, the drying process is the most critical—and often most frustrating—step in your routine. Air-drying can lead to unpredictable results and lingering dampness, while a direct blast from a traditional hair dryer is a surefire recipe for a fluffy, frizzy disaster. This is where a simple, affordable tool transforms everything: the hair diffuser.
Learning how to use the diffuser for curly hair correctly is the game-changing skill that bridges the gap between a salon-quality blowout and your at-home routine. It’s not just about drying; it’s about enhancing your natural pattern, boosting volume, and sealing in moisture for confidence. This guide will walk you through every professional-grade step, turning your bathroom into a personal curl salon and giving you the predictable, gorgeous results you’ve always wanted.


Materials & Supplies: Your At-Home Curl Salon Kit
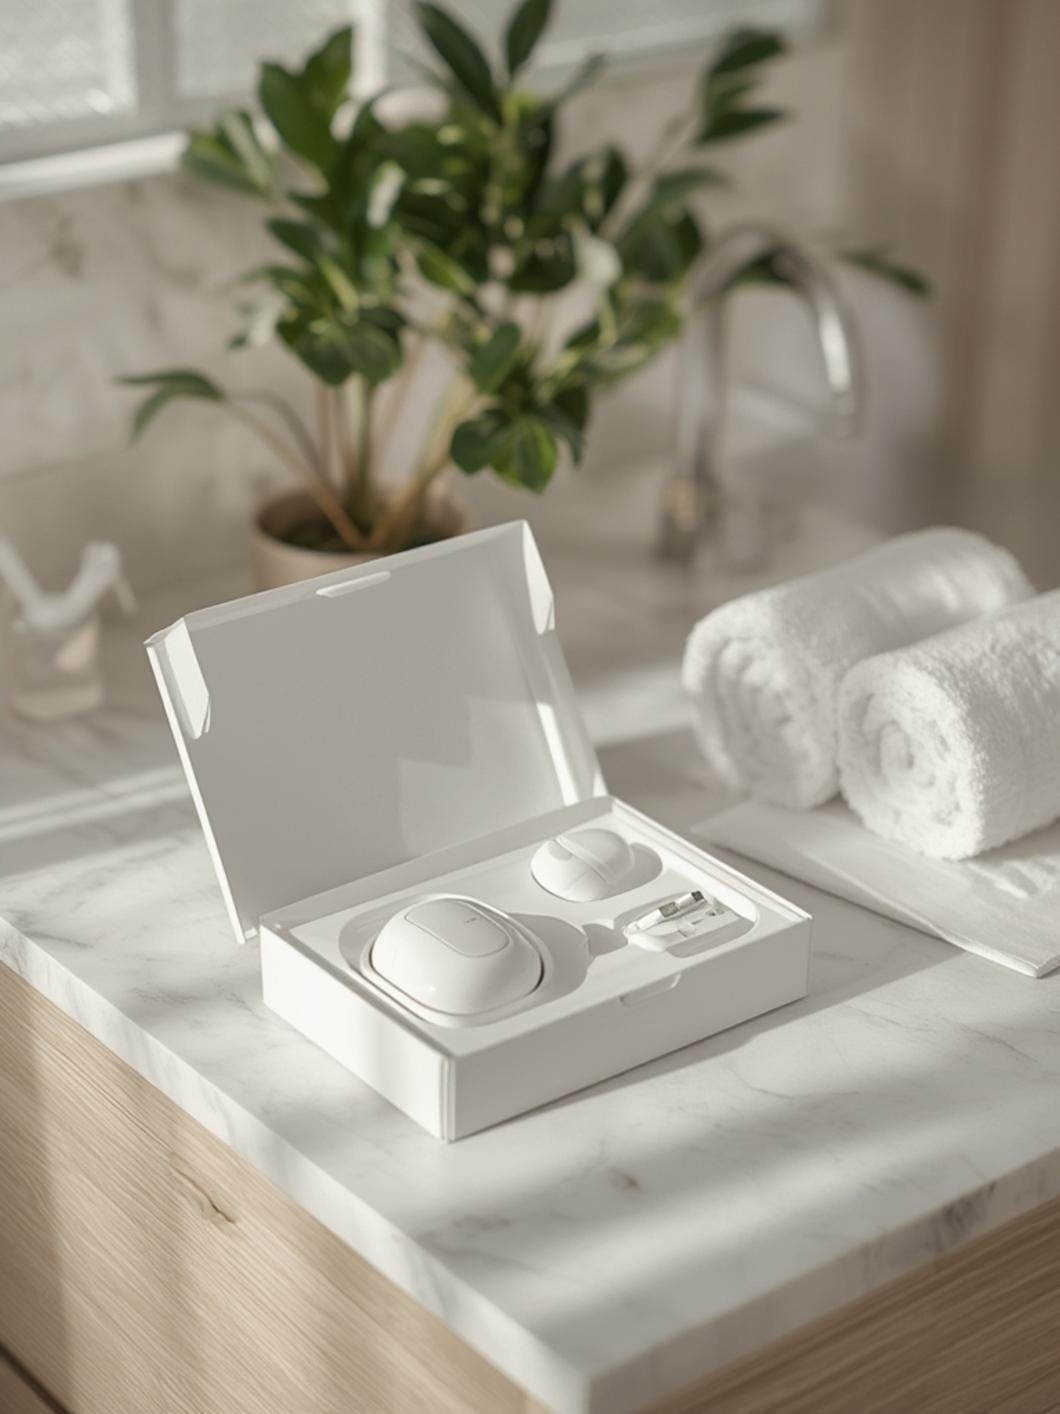
To achieve salon-worthy results, having the right tools is non-negotiable. Gather these essentials before you begin:
- Curly Hair Diffuser Attachment: This is your star tool. Look for a diffuser with a wide, bowl-shaped design and deep fingers or prongs. This design evenly distributes airflow, lifting curls from underneath without disrupting their natural pattern. A universal silicone or plastic diffuser that fits most dryer nozzles is a great start.
- High-Power Hair Dryer with a Cool Shot Button: A powerful dryer (1800+ watts) with adjustable heat and speed settings is ideal. The cool shot button is crucial for setting your curl pattern once dry.
- Microfiber Towel or Soft Cotton T-Shirt: Never rub your hair with a regular terrycloth towel. The friction causes frizz and breakage. A microfiber towel or soft cotton T-shirt gently absorbs excess water without disturbing curls.
- Leave-In Conditioner or Lightweight Cream: A hydrating, curl-friendly leave-in is your first defense against frizz. It replenishes moisture, detangles, and provides a light hold. Apply to soaking wet hair.
- Curl-Enhancing Styler (Mousse, Gel, or Cream): This is your hold and definition product. A lightweight mousse adds volume, a gel provides strong hold and a cast, and a cream adds moisture and definition. Choose one based on your hair’s density and porosity.
Wide-Tooth Comb or Denman Brush: For gentle detangling only* when your hair is saturated with conditioner/styler. Never comb dry curls.
- Hair Clips (Optional but Helpful): For sectioning thick hair, ensuring even product distribution and drying.
- Heat Protectant Spray: While diffusing uses lower, more dispersed heat than a direct dryer, a heat protectant is a non-negotiable safety step for all heat styling.
- Satin or Silk Bonnet or Pillowcase: For overnight maintenance of your freshly diffused curls.
Preparation & Timing: The Foundation for Success
Proper prep is 80% of the battle. Rushing this stage leads to lackluster results. Plan your routine like this:
Prep (5–10 minutes): In the shower, use a sulfate-free, hydrating shampoo and conditioner. Focus conditioner on mid-lengths to ends. Detangle gently with your fingers or a wide-tooth comb in the shower* under running water. Immediately after rinsing, gently squeeze out excess water. Do not rub.
- Application (10–15 minutes): While your hair is still soaking wet, apply your products. This is the golden rule: “soaking wet hair, happy curls.” Start with a heat protectant spray. Then, apply your leave-in conditioner and styler (mousse/gel/cream) using the “ rake and shake” or “ praying hands” method, ensuring even coverage from roots to ends.
- Drying & Diffusing (20–40 minutes): This is where diffusing techniques come into play. Set your dryer to a low to medium heat and a low to medium speed. The entire process should take time; rushing with high heat will cause frizz. The total time depends on hair thickness and density.
- Post-Treatment (2–5 minutes): Once 100% dry, use the cool shot button for 30-60 seconds all over to set thecurl pattern. Gently fluff roots with your fingers and tousle if desired. Apply a light oil or serum to ends if needed.
How to use the diffuser for curly hair: Mastering the Art of the Diffuse
Now, let’s apply those products and master the technique. Follow these steps precisely for maximum definition and minimal frizz.
1. Start Soaking Wet: After applying all your products, your hair should be dripping wet. If it’s too dry, lightly mist with water in a spray bottle. This allows the styler to form a strong “cast” or hold.
2. Attach & Preheat: Secure your diffuser onto your hair dryer. Turn the dryer on to your pre-set low/medium heat and low/medium speed. Holding it too close or on too high a setting is the #1 cause of frizz.
3. Section Strategically: For even drying, work in 2-4 inch sections. Use clips to section hair on the sides and top if you have thick hair.
4. The “Hover & Cup” Technique: Take a section of hair and place it into the bowl of the diffuser. Gently cup the section up towards your scalp, holding it in place. The goal is to cradle the curl, not press it flat. Move the diffuser in small, stationary circles underneath the section. Do not rub the diffuser back and forth.
5. Dry to 80%: Diffuse each section until it feels dry to the touch but is still slightly damp (about 80% dry). This prevents over-drying, which leads to brittleness and frizz. The hair should feel cool or slightly warm, never hot.
6. Cool Shot & Repeat: Once a section is 80% dry, immediately hit it with the cool shot for 10 seconds to lock in the shape. Move to the next section, repeating the hover and cup motion.
7. Root Focus: For volume, lift roots by placing the diffuser directly at your roots, pointing the airflow upwards toward your scalp. Hold for 10-15 seconds on each root section.
8. Final Cool Down: Once all hair is 100% dry, do a final full-head cool shot. Now, you can gently “scrunch out” any residual crunch from your gel by rubbing your curls lightly between your palms.
Beauty Benefits & Advantages: Why Diffusing is a Non-Negotiable
This simple technique delivers a powerhouse of benefits that air-drying and traditional blow-drying simply cannot match:
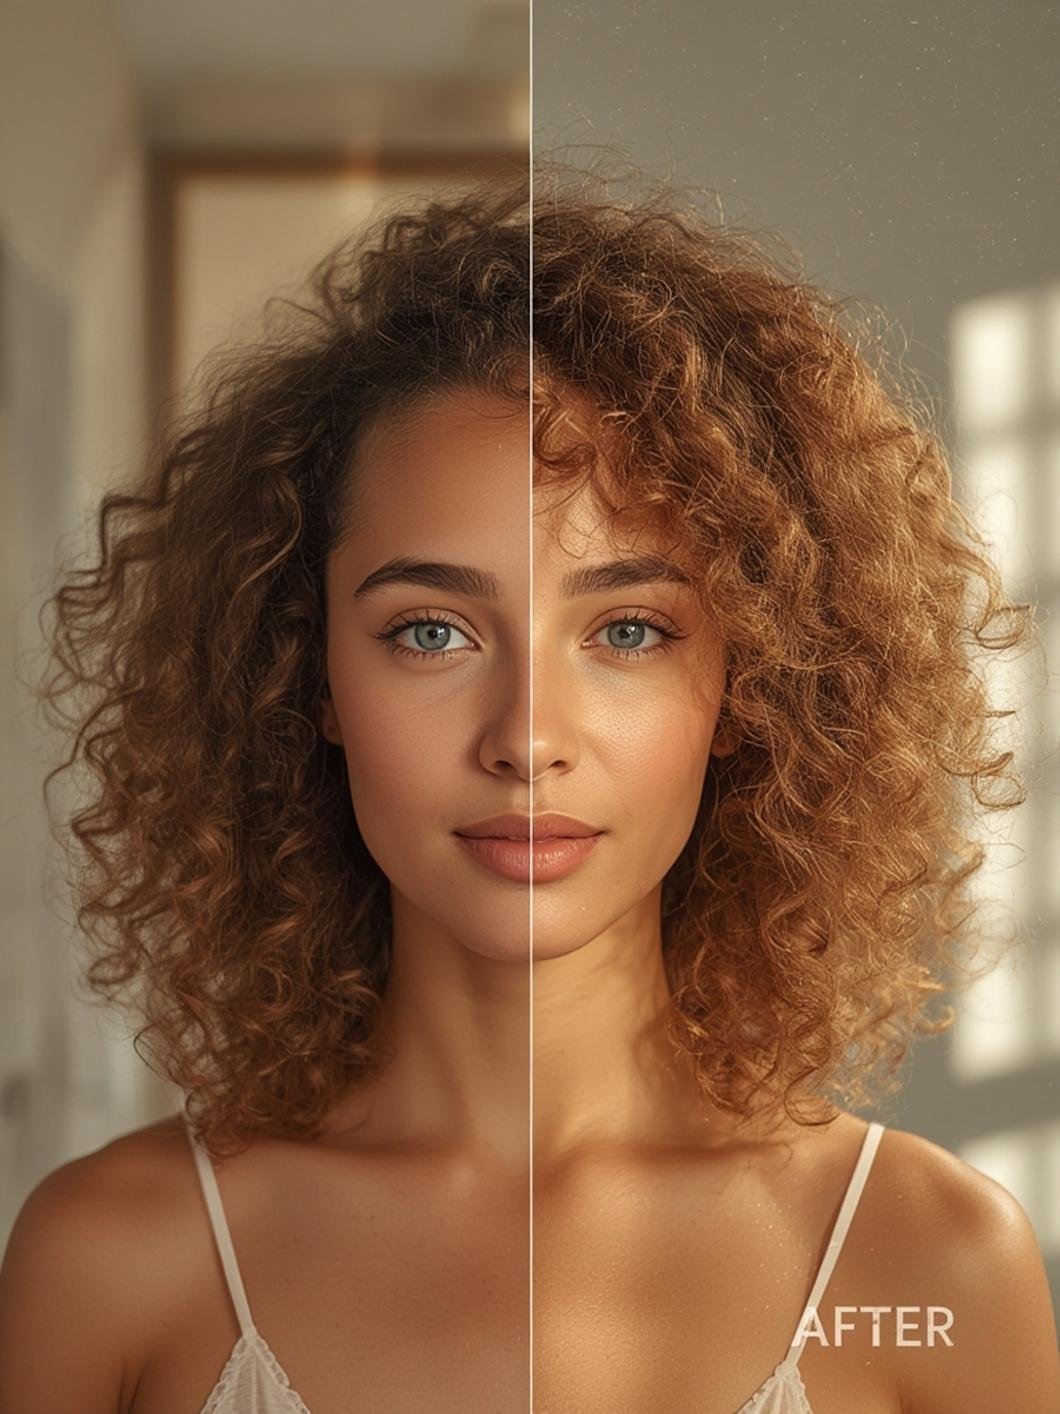
- Enhanced Definition & Reduced Frizz: The diffused airflow dries hair evenly from the inside out, encouraging clumps and reducing the shrinkage and puffiness that happens with uneven drying.
- Maximum Volume: By lifting curls at the roots and not weighing them down with direct, forceful air, diffusing creates natural, lasting volume at the crown.
- Moisture Retention: The lower, dispersed heat is less damaging than a concentrated airflow, helping to seal the hair cuticle and lock in the moisture you applied during your styling routine.
- Preserves Curl Pattern: The “cup and hold” method supports the natural curl formation without stretching or disrupting it, leading to more uniform springy curls or waves.
- Versatility for All Curl Types: Whether you have loose beach waves or tight kinks, the right diffusing techniques can be adapted. Use a larger diffuser for volume on fine curls, and a smaller, fingertip-style diffuser for better penetration on dense textures.
Personal Care & Lifestyle Integration
Make diffusing work for your life:
- Morning Rush vs. Evening Ritual: For a quick morning refresh, diffuse only the roots and face-framing pieces. For a full, flawless look on a weekend or event night, take the full time.
- Seasonal Adjustments: In high humidity, use a stronger hold gel and ensure your hair is 100% dry before stepping outside. In dry winter months, focus on moisture-rich products and use the lowest possible heat setting.
- For Fine or Low-Porosity Hair: Use a lightweight mousse and a low-speed setting to avoid blowing out delicate curls. Let hair air-dry partially (50%) before diffusing to cut down on time.
- Maintaining Results Between Washes: Sleep on a satin pillowcase or in a satin bonnet. Use a light refresher spray (water + conditioner mix) in the morning and re-scrunch. Avoid brushing or combing dry curls.
- The “Dry Diffuse” Hack: On second or third-day hair that’s slightly frizzy, mist with water and a tiny bit of leave-in, then diffuse on a very low, cool setting for 2-3 minutes to revive curls without washing.
Common Mistakes to Avoid: The Frizz Triggers
Even with the best tools, these errors can sabotage your results:
- Using High Heat & High Speed: This is the cardinal sin. It roughs up the hair cuticle, causing instant frizz and damage. Always start low.
- Rubbing with the Diffuser: The diffuser is a cradle, not a towel. Rubbing disrupts the curl clump and creates frizz.
- Diffusing 100% Wet Hair: A damp-but-not-wet hair shaft is more vulnerable. Diffusing hair that’s dripping wet wastes time and can cause uneven drying. Gently squeeze out excess water first.
Skipping the Cool Shot: Heat sets the shape, but cool air locks* it in. Skipping this step means your curls will relax and lose definition as they cool.
- Using Incompatible Products: Heavy oils or butters under a gel can create a greasy cast. A protein-heavy treatment on already protein-sensitive hair will cause brittleness. Know your hair’s needs.
- Neglecting Tool Hygiene: A dirty diffuser accumulates product buildup and dust, which can transfer to your hair and impede airflow. Clean it monthly with soapy water.
Product Care & Maintenance Tips
Your tools are an investment. Protect them:
- Cleaning Your Diffuser: Once a month, remove the diffuser from the dryer. Soak it in warm, soapy water for 10 minutes. Use a soft brush (like a toothbrush) to scrub the prongs and bowl. Rinse thoroughly and air dry completely before reattaching.
- Dryer Maintenance: Regularly clean your dryer’s intake vent (usually at the back) with a small brush to remove lint and hair. This prevents overheating and maintains power.
- Product Storage: Store your stylers, leave-ins, and serums in a cool, dark place away from direct sunlight (like a cabinet, not the windowsill). Heat and light degrade active ingredients.
- Check Expiration Dates: Natural and organic haircare products often have shorter shelf lives (6-12 months after opening). Using expired products can lead to ineffective performance or even scalp issues.
- Protect Your Attachments: When not in use, store your diffuser in a soft pouch or dedicated spot to avoid cracking the plastic or bending the fingers.
Conclusion: Embrace Your Best Curls, Every Day
Mastering how to use the diffuser for curly hair is more than a drying technique; it’s a fundamental act of hair care that empowers you to take control of your curl destiny. By respecting your hair’s natural pattern with the right tools, products, and diffusing techniques, you move from fighting frizz to defining beauty. The journey to flawless curls is a practice—one section, one cool shot, one patient circle at a time. Start tonight. Wash, apply your products with care, and diffuse with patience. Feel the difference in your hands as you cup each section, and witness the transformation in the mirror. Share your before-and-after photos in the comments below—we love seeing your success stories! While you’re here, explore our guides on [building a minimalist capsule wardrobe](https://example.com/capsule-wardrobe) or [the science of layering skincare](https://example.com/layering-skincare) to elevate other areas of your routine.
FAQs: Your Diffusing Questions Answered
Q1: Can I diffuse my hair every day?
A: Yes, if you use a low heat setting and ensure your hair is fully dry each time. Over-washing or over-processing is more damaging than daily gentle diffusing. Listen to your hair—if it feels dry or brittle, increase time between washes.
Q2: My hair still frizzes when I diffuse. What am I doing wrong?
A: The most common culprits are: 1) Using too much product (causes crunch and uneven drying), 2)Diffusing on too high a heat/speed setting, 3) Not applying products to soaking wet hair, and 4) Not using the cool shot button to set the curls.
Q3: Should I diffuse on wet or damp hair?
A: Diffuse on soaking wet hair. This is when your curl pattern is most defined and products form the best cast. Diffusing on damp hair can lead to uneven curl formation and more frizz as the hair dries.
Q4: How long should I diffuse each section?
A: Diffuse each section until it is about 80% dry, which usually takes 2-5 minutes per section depending on thickness. The hair should feel cool or slightly warm. Finish with a full cool shot.
Q5: Is a diffuser better than air-drying?
A: For most curly-haired individuals, yes. Air-drying often leads to unpredictable shrinkage, flat roots, and a higher chance of humidity-induced frizz as hair dries slowly. Diffusing controls the drying environment, provides root lift, and sets the pattern more reliably, especially in humid climates.