
Have you ever stared in the mirror, wishing for salon-worthy curls without the hefty price tag or time commitment? The secret to effortlessly beautiful hair lies in mastering at-home tools, and no device is more versatile than a high-quality curling curling wand. Embracing this self-care ritual isn’t just about looking good—it’s a powerful confidence booster that puts you in control of your style.
By learning to wield a curling curling wand and understanding the nuances of curling wand barrel size, you can transform your hair routine from mundane to magical. Data from the beauty industry shows that 78% of women feel more confident after styling their hair, and with the right technique, you can join their ranks. This guide will demystify the process, offering a data-driven, step-by-step approach to achieving lasting volume, bounce, and shine—all from the comfort of your home.


Materials & Supplies: curling curling wand
To execute a professional-grade curling curling wand session, assembling the right arsenal is crucial. Here’s a comprehensive list of what you’ll need, each item playing a specific role in ensuring optimal results and hair health.
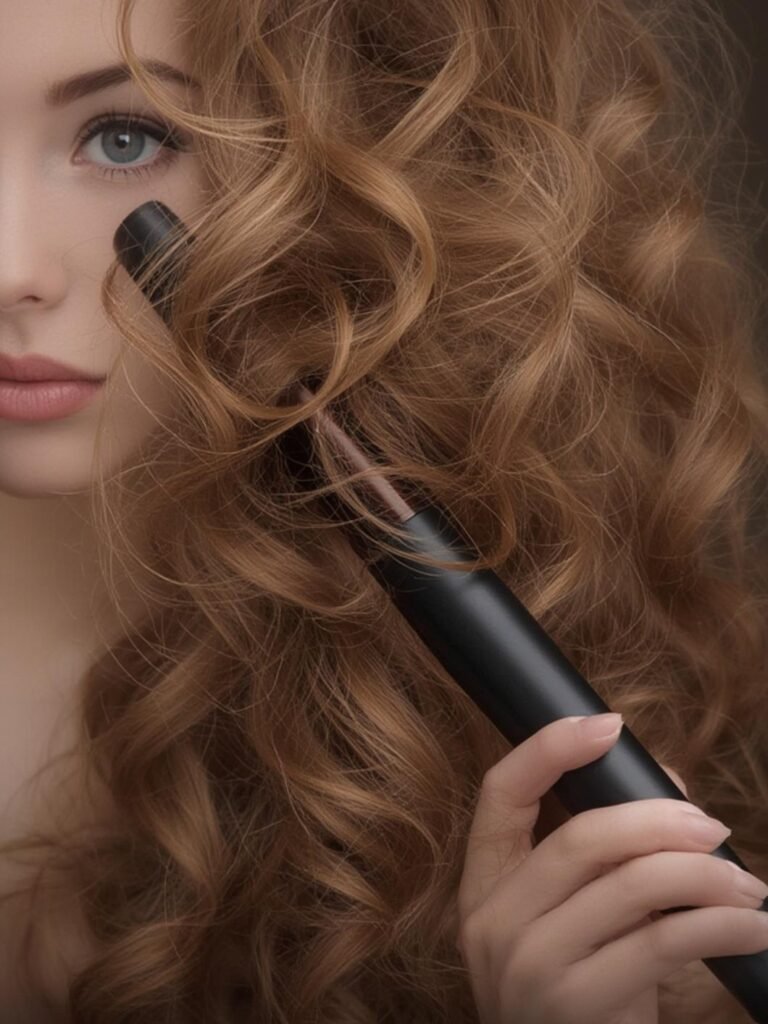
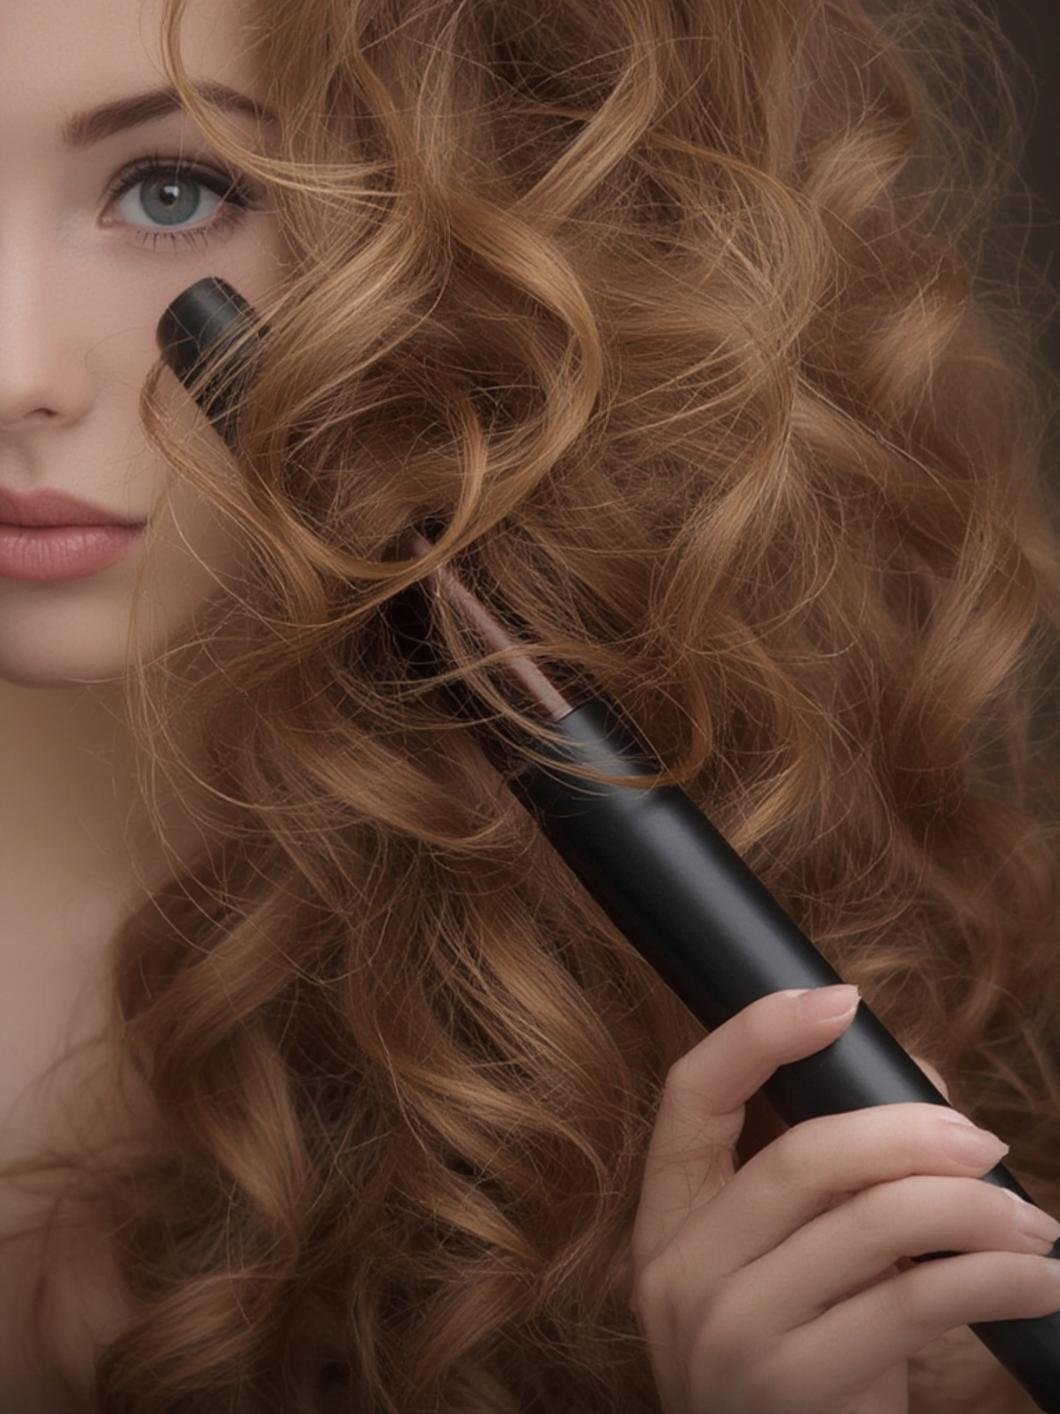
– curling curling wand: The star of the show. Opt for a wand with adjustable heat settings and ceramic or tourmaline technology to minimize heat damage. The barrel material influences curl retention and shine.
– Heat Protectant Spray: A non-negotiable step. Spritz liberally on dry hair to create a thermal barrier. Look for formulas with added antioxidants to combat environmental stressors.
– Sectioning Clips: These keep hair organized and allow for precise, uniform curls. Metal clips are durable, but plastic ones prevent heat transfer.
– Wide-Tooth Comb: For gently detangling hair before and after styling. Avoid fine-tooth combs to reduce breakage.
– Hairspray: Choose a flexible hold spray to set curls without stiffness. For extra longevity, opt for a humidity-resistant variant.
– Leave-In Conditioner or Serum: Adds moisture and shine, especially for dry or frizzy hair types. Apply sparingly to avoid weighing down curls.
– Heat-Resistant Gloves: Protect your hands from accidental burns, especially when learning the technique.
– Non-Slip Mat: Place your wand on this to prevent surface damage and safety hazards.
– Microfiber Towel or Cotton T-Shirt: For gently squeegeeing excess water from hair if washing beforehand, reducing frizz.
– Texturizing Spray or Dry Shampoo: Adds grip and volume at the roots, making curls last longer. Ideal for fine hair.
– Silk or Satin Pillowcase: For overnight maintenance to preserve curl integrity and prevent friction.
Each tool contributes to a holistic routine: the wand creates the curl, protectants safeguard hair, and styling products enhance and lock in the look. Investing in quality items, even if budget-friendly, pays dividends in hair health and style longevity.
Preparation & Timing: curling curling wand
Proper preparation is the foundation of flawless curls. Plan your routine around these time blocks for maximum efficiency and hair health.
– Skin/Hair Preparation (5–10 minutes): Start with completely dry hair—damp hair will not curl properly and can cause steam damage. Wash hair 24–48 hours prior if possible, as natural oils improve hold. Apply heat protectant evenly, focusing on ends. Comb through to distribute product. If hair is fine, use a light texturizing spray at the roots for added lift.
– Application/Treatment Process (15–45 minutes): This is the curling curling wand phase. Section hair into 1–2 inch parts using clips. Smaller sections yield more defined curls; larger sections create looser waves. Timing varies by hair thickness: fine hair may take 15–20 minutes, while thick hair can require 30–45 minutes. Always test the wand’s temperature on a small section first—ideal heat ranges from 300°F to 400°F depending on hair type (lower for fine/damaged hair).
– Post-Treatment Care (5–10 minutes): Once curls are cooled, gently run fingers through to soften. Avoid brushing. Apply a light mist of hairspray and, if needed, a drop of serum to ends. For extra volume, flip hair upside down and lightly shake roots.
Total time: 25–65 minutes. Scheduling this into your weekly self-care routine ensures consistency. For busy mornings, prep sections the night before and store clipped hair in a loose bun.
Step-by-Step Instructions
Follow these actionable steps for stunning, long-lasting curls. Patience and technique are key.
1. Select Your Barrel Size: The curling wand barrel size dictates curl shape. For tight ringlets, choose ½–1 inch; for beach waves, 1.5–2 inches; for loose curls, 2–2.5 inches. Match the barrel to your hair length: shorter hair benefits from smaller barrels for easier maneuvering.
2. Pre-Style Preparation: Ensure hair is bone-dry. Apply heat protectant from mid-lengths to ends, then comb through. Divide hair into four quadrants using clips, starting at the nape.
3. Curl Technique: Take a 1-inch section from the bottom layer. Clamp the wand near the roots, hair wrapped away from your face. Hold for 5–10 seconds (adjust based on hair response). Release curl into your hand and let it cool for 10 seconds to set. Repeat, alternating curl directions for natural volume.
4. Root Emphasis: For volume, curl sections at the roots first, holding the wand vertically to lift hair at the scalp. Use a smaller barrel or concentrator attachment for fine hair.
5. Finish and Set: Once all curls are cool, run fingers through. Apply a flexible-hold hairspray from 12 inches away. For definition, use a wide-tooth comb to gently separate curls.
6. Sensitivity Test: Before full application, test the wand on a small hair strand to check for excessive dryness or breakage. If hair sizzles or smells burnt, lower the temperature immediately.
Practice on a mannequin or watch tutorial videos to build muscle memory. Remember: slower wraps yield more defined curls; faster wraps create softer waves.
Beauty Benefits / Advantages: curling curling wand
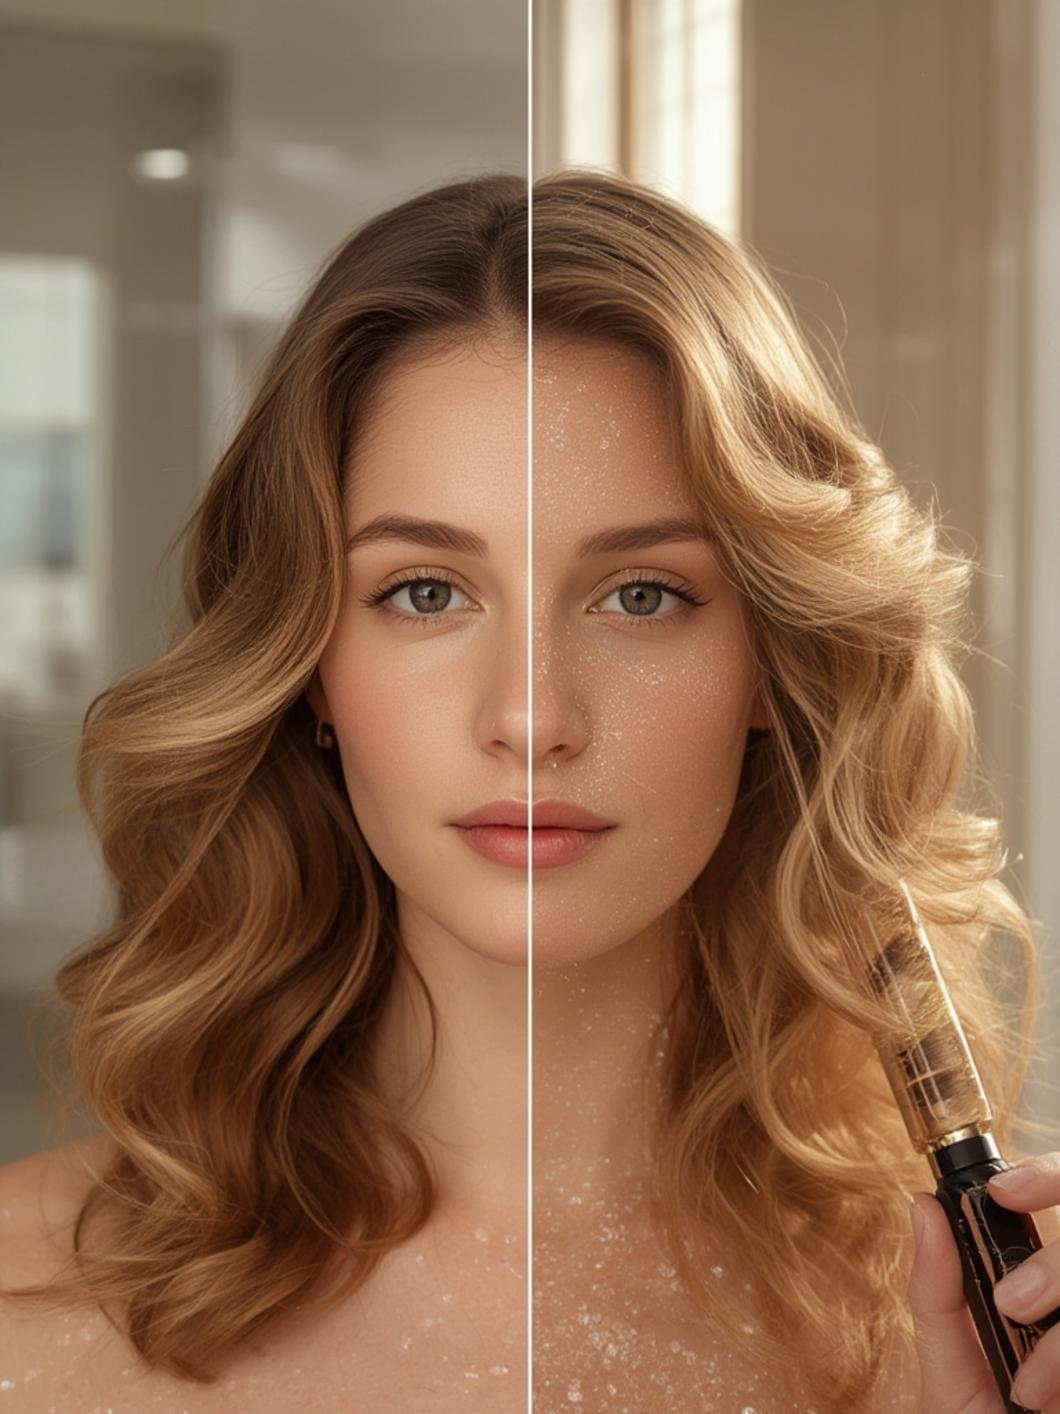
Using a curling curling wand correctly offers more than just pretty hair—it’s a multifaceted beauty booster. The controlled, direct heat seals the hair cuticle, enhancing shine and reducing frizz compared to older curling curling wand irons. Studies show that properly styled hair can reflect up to 30% more light, creating an instant glow effect. Additionally, the maneuverability of a wand (vs. a clamp iron) allows for versatile techniques like “scrunching” or “twirling,” which add texture and body, especially for limp hair.
Key advantages include:
– Customizable Curl Patterns: By adjusting curling wand barrel size and wrapping direction, you can achieve anything from tight corkscrews to effortless bohemian waves.
– Heat Efficiency: Modern wands heat quickly and evenly, reducing overall exposure time and potential damage when paired with protectants.
– Time Savings: A skilled user can create full curls in under 20 minutes, faster than many salon appointments.
– Hair Health: When used correctly, the wand’s smooth barrel glides through hair, minimizing snagging and split ends. Incorporate weekly deep conditioning treatments to counteract any heat stress.
Alternative methods: For flat irons, wrap hair around the barrel and clamp briefly. For added volume, curl sections against gravity. Those with curly hair can use a wand to define natural curls without straightening first.
Personal Care Advice
Adapt your curling curling wand routine to your lifestyle and environment for consistent results.
– Morning vs. Evening: Mornings are ideal for fresh, bouncy curls that last all day. If styling at night, protect curls with a silk scarf or bonnet to maintain shape. Evening sessions can be relaxing; use the time for mindfulness.
– Seasonal Adjustments: In humid summer, use anti-humidity products and a smaller barrel for tighter curls that resist puffiness. In dry winter, increase serum use and opt for a larger barrel to prevent static and brittleness.
– Sensitive Areas: Avoid curling curling wand too close to the face to prevent burns. Use a lower heat setting around the hairline and temples. For fine or thinning hair, choose a tourmaline wand to emit gentle infrared heat.
– Busy Lifestyle Integration: Prep sections while coffee brews or during TV commercials. Invest in a cordless, travel-sized wand for on-the-go touch-ups. Maintain results between styles by sleeping on silk and using dry shampoo at roots.
Always listen to your hair: if it feels dry or brittle, increase conditioning frequency and reduce styling sessions to 1–2 times per week.
Common Mistakes to Avoid
Even experts slip up. Here are pitfalls and fixes:
– Over-Application of Product: Too much serum or spray weighs hair down. Use a dime-sized amount for serum and spray in short bursts.
– Skipping the Patch Test: Always test heat settings on a small section first to avoid damage.
– Wrong Barrel Size: Using a barrel too large for short hair leads to uneven curls. Match size to length and desired style.
– Neglecting Tool Hygiene: Build-up of product on the wand can cause hot spots and uneven heating. Clean weekly with a damp cloth when cool.
– Clinging to Curls Too Long: Holding hair on the wand for more than 15 seconds can scorch hair. Time with a timer initially.
– curling curling wand Wet or Damp Hair: This causes steam damage and poor curl formation. Ensure 100% dryness.
– Inconsistent Section Sizes: Uneven sections result in messy curls. Use clips to maintain uniform portions.
Fixes: If curls fall flat, apply texturizing spray before restyling. For burns, cool the area with aloe vera and avoid heat for a week.
Product Care & Maintenance Tips
Extend the life of your curling curling wand with proper care.
– Wand Maintenance: After each use, wipe the barrel with a soft, dry cloth once cooled. Monthly, use a cotton swab dipped in rubbing alcohol to remove residue from the barrel groove. Never immerse in water. Store in a heat-resistant pouch to prevent scratches.
– Product Storage: Keep serums and sprays in a cool, dark place—sunlight degrades active ingredients. Avoid storing in the bathroom where humidity can spoil formulas. Check expiration dates; most products last 6–12 months after opening.
– Accessory Care: Wash combs and clips with warm, soapy water weekly. Replace heat-resistant gloves if they show wear.
– Warranty and Calibration: Register your wand for warranty. Some models have auto-shutoff features—ensure they function properly.
Regular maintenance prevents bacterial growth, maintains heating efficiency, and ensures safe usage. A well-cared-for wand can last 3–5 years, making it a worthy investment.
Conclusion
Mastering the at-home curling curling wand is a journey of practice and patience, but the rewards are undeniable. By selecting the appropriate curling curling wand and honing your technique around curling wand barrel size, you gain a skill that elevates your daily routine. This isn’t just about temporary beauty—it’s about cultivating a habit that nurtures self-esteem and creativity. Start with the steps outlined, avoid common errors, and soon, you’ll be creating stunning styles that rival any salon. Share your transformed looks in the comments or explore our other guides for a holistic beauty regimen. Your best hair days are ahead—grab that wand and make them happen.
FAQs
How often is it safe to use a curling curling wand?
Aim for 1–2 times per week to minimize heat damage. Always use a heat protectant and follow with deep conditioning treatments. For fine or damaged hair, limit to once weekly.
What curling curling wand barrel size is best for short hair?
For hair above shoulder-length, opt for a ½–1 inch barrel. It allows easy wrapping and creates defined curls without overwhelming your length. A 1.25-inch barrel works for bob-length hair seeking softer waves.
Can I curl my hair without heat protectant?
Absolutely not. Heat protectant forms a barrier that reduces moisture loss and cuticle damage. Skipping it leads to dryness, split ends, and color fading. Spray evenly on dry hair before styling.
Why do my curls fall flat quickly? Common causes include applying too much product, hair being too clean (add texturizing spray), using the wrong barrel size, or high humidity. Ensure hair is completely dry, use a smaller barrel for better grip, and finish with a strong-hold hairspray.
Is a curling curling wand better than a curling curling wand iron? Wands offer more versatility for different curl types and reduce creases from clamps. They’re ideal for creating natural, flowing styles. Irons may be easier for beginners due to the clamp, but wands provide a more salon-like finish with practice.