
Are you tired of spending hours at the salon to achieve salon-quality nail results? With the right tools and techniques, you can now enjoy professional-grade led uv lamp gel nails and nail curing from the comfort of your own home, boosting your self-care routine and confidence. By investing in a good led uv lamp gel nails and mastering the art of nail curing, you can enjoy long-lasting, high-gloss finishes and healthy nails.


Materials & Supplies
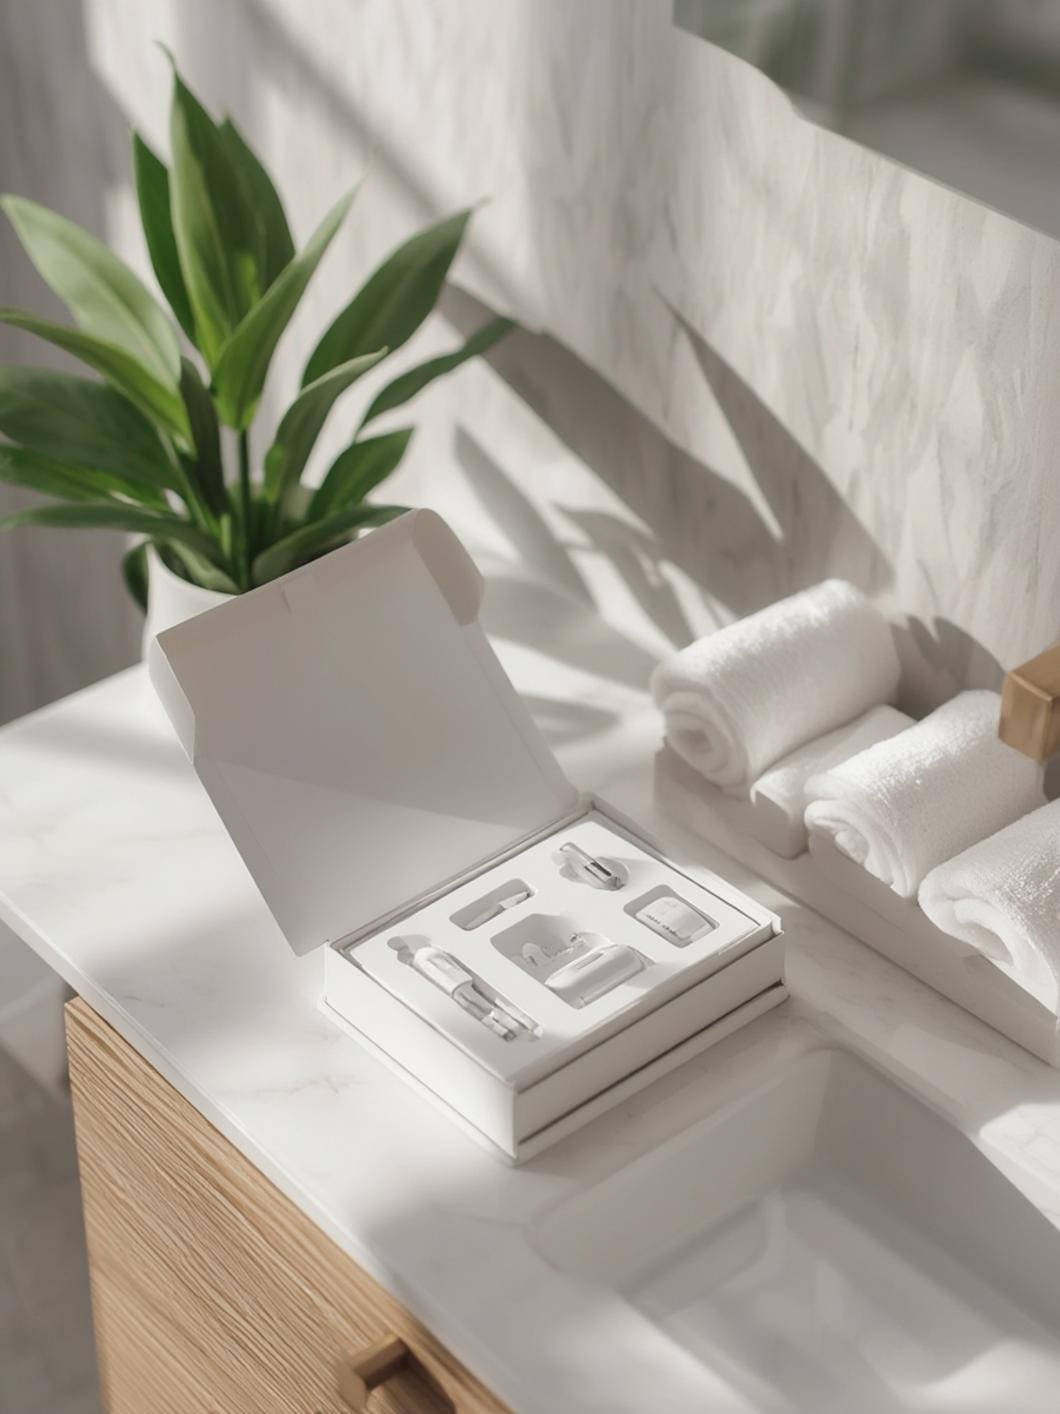
To get started with your at-home nail care routine, you’ll need a few essential materials and supplies. These include:
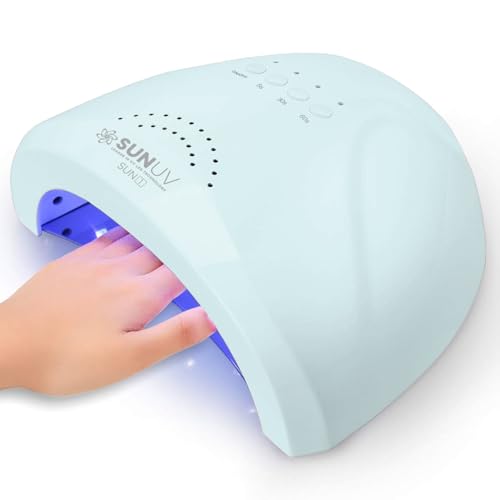
– A high-quality led uv lamp gel nails kit, which typically comes with a UV or LED lamp, gel polish, base coat, top coat, and nail cleanser.
– Nail files and buffers for shaping and smoothing the nails.
– Cuticle oil and pusher for gentle cuticle care.
– Lint-free wipes for cleaning up any mess.
– A nail art brush for detailed designs (optional).
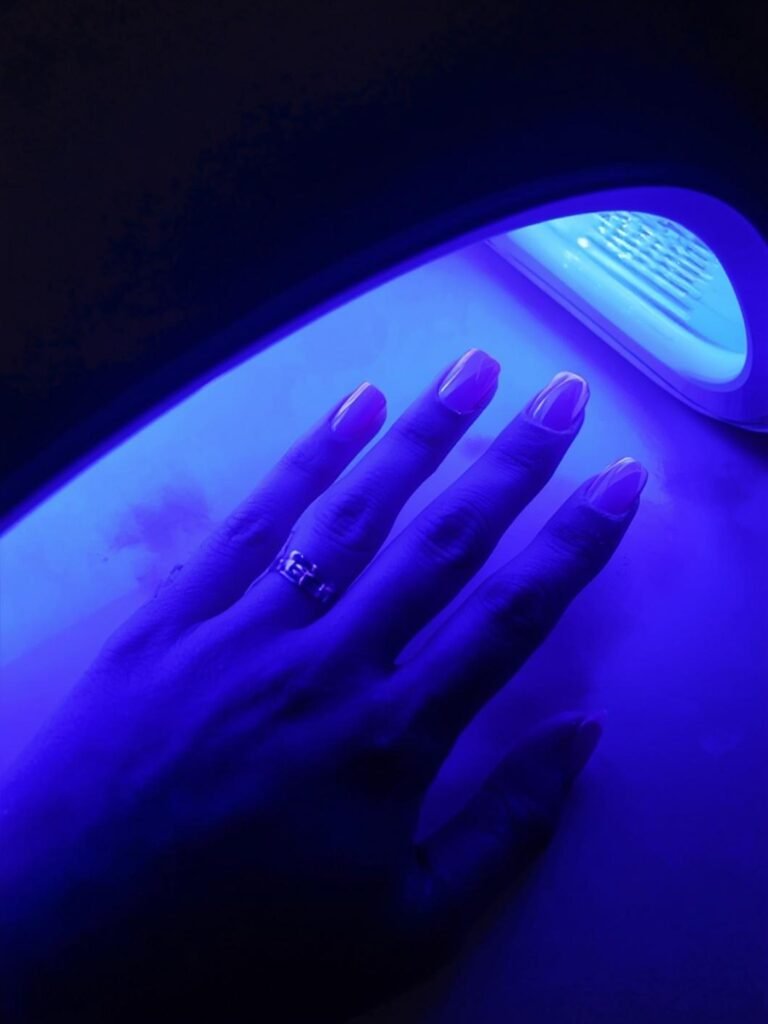
Each of these items plays a crucial role in achieving professional-grade results. The led uv lamp gel nails kit is the star of the show, providing everything you need for a long-lasting gel manicure. The UV or LED lamp is used for nail curing, which helps to dry and set the gel polish.
Preparation & Timing
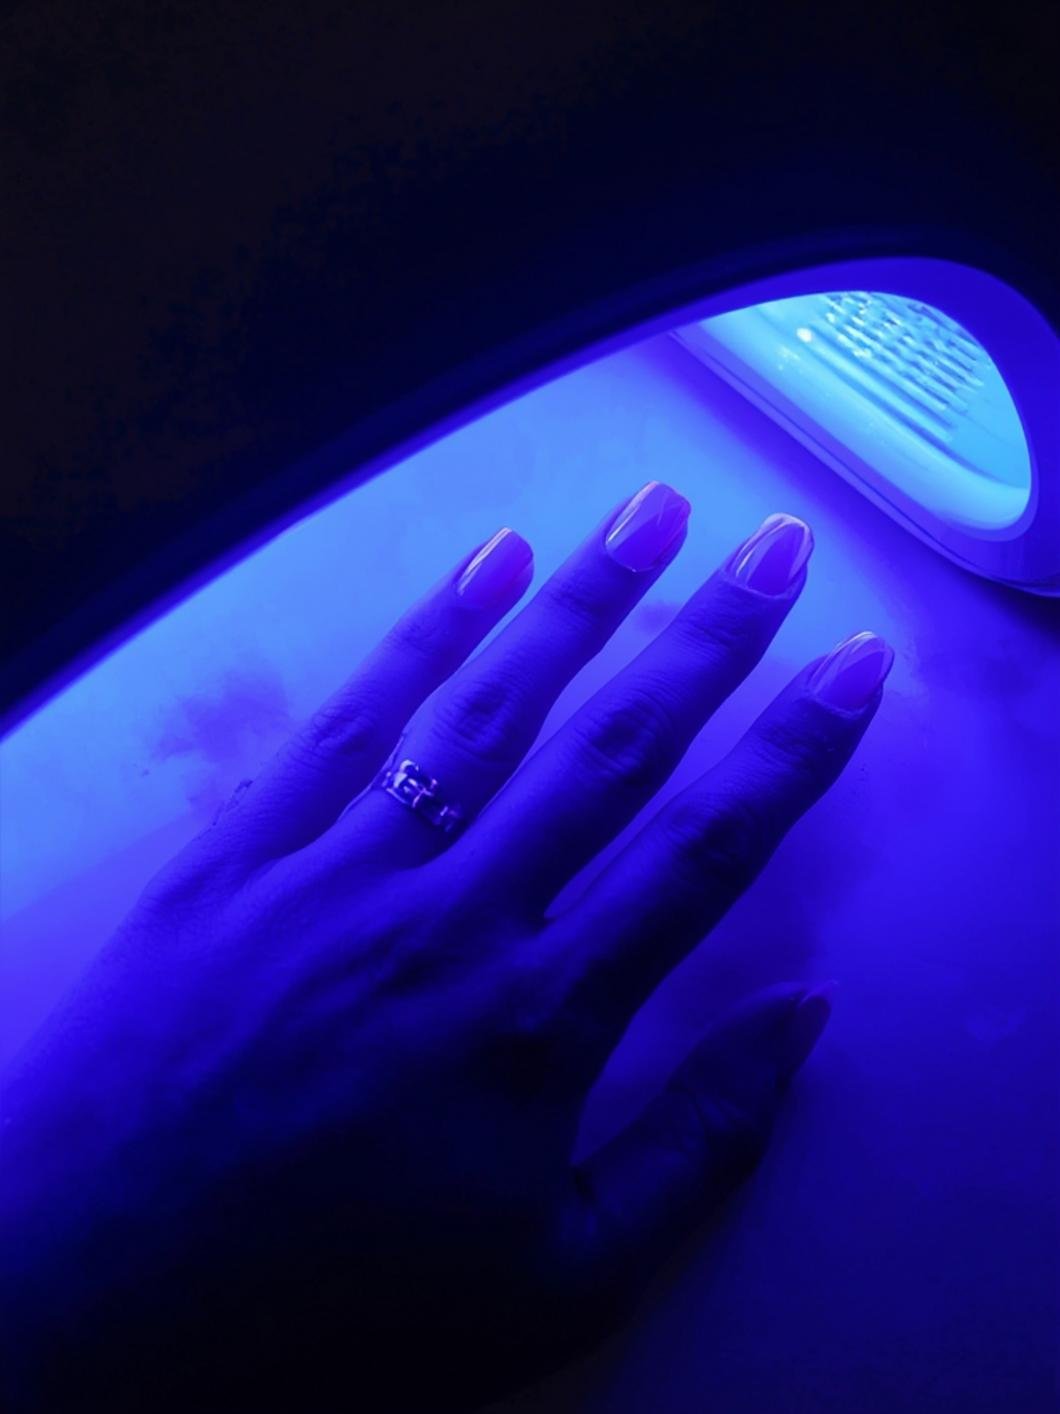
Preparation is key to a successful at-home gel manicure. Start by prepping your nails, which includes removing old nail polish, pushing back your cuticles, and shaping your nails to your desired shape. This process should take around 5-10 minutes. Next, apply a base coat, followed by one to two coats of gel polish, and finish with a top coat. Each coat should be cured under the UV or LED lamp for the recommended amount of time, usually 30 seconds to 1 minute, depending on the lamp and polish. After curing the final top coat, apply cuticle oil to hydrate your cuticles and nail beds. The entire process, including prep and post-treatment care, should take around 30-45 minutes.
Step-by-Step Instructions
To achieve a professional-grade gel manicure at home, follow these easy steps:
1. Prep your nails by removing old polish and pushing back your cuticles.
2. Apply a thin layer of base coat and cure under the UV or LED lamp.
3. Apply one to two thin layers of gel polish, curing each layer under the lamp.
4. Finish with a thin layer of top coat and cure.
5. Apply cuticle oil to hydrate your cuticles and nail beds.
When performing nail curing, make sure to follow the instructions provided with your led uv lamp gel nails kit for the best results.

Beauty Benefits / Advantages
The benefits of using led uv lamp gel nails and mastering nail curing are numerous. Not only do you achieve a long-lasting, high-gloss finish, but you also promote healthy nail growth. The gel polish helps to protect your nails from chipping and cracking, and the UV or LED lamp ensures a quick and efficient nail curing process. To enhance your results, consider using a nail strengthener as a base coat and applying a cuticle oil regularly to keep your cuticles and nail beds hydrated.
Personal Care Advice
To adapt your gel manicure routine to your lifestyle, consider the following tips:
– For a morning routine, apply a quick-dry top coat to help your manicure last throughout the day.
– For an evening routine, take your time and enjoy the process, maybe even adding some nail art for a special touch.
– In dry weather, apply extra cuticle oil to keep your cuticles and nail beds hydrated.
– In humid weather, consider using a breathable top coat to help prevent chipping.
Common Mistakes to Avoid
When it comes to at-home gel manicures, there are a few common mistakes to avoid:
– Over-application of gel polish, which can lead to a thick, uneven finish.
– Skipping the base coat, which can cause the gel polish to lift off the nail.
– Not curing the gel polish for the recommended amount of time, which can result in a weak bond between the polish and the nail.
– Not cleaning your UV or LED lamp regularly, which can affect the nail curing process.
Product Care & Maintenance Tips
To ensure your led uv lamp gel nails kit and other beauty tools last, follow these care and maintenance tips:
– Clean your UV or LED lamp regularly with a lint-free wipe.
– Store your gel polish in a cool, dry place, away from direct sunlight.
– Check the expiration dates of your gel polish and other products.
– Clean your nail brushes with nail polish remover and shape them to prevent fraying.
Conclusion
In conclusion, achieving professional-grade led uv lamp gel nails and nail curing at home is easier than you think. By following the steps outlined above and avoiding common mistakes, you can enjoy long-lasting, high-gloss finishes and healthy nails. So why not give it a try? Share your results with us and explore our other beauty posts for more tips and tricks.
FAQs
1. Q: How often should I apply cuticle oil?
A: Apply cuticle oil daily to keep your cuticles and nail beds hydrated.
2. Q: Can I use regular nail polish with a UV or LED lamp?
A: No, regular nail polish is not compatible with UV or LED lamps. Use gel polish specifically designed for led uv lamp gel nails and nail curing.
3. Q: How long does a gel manicure last?
A: A gel manicure can last up to two weeks with proper application and aftercare.
4. Q: Can I do a gel manicure at home if I have weak or brittle nails?
A: Yes, but consider using a nail strengthener as a base coat and taking extra care to avoid damaging your nails.
5. Q: Is nail curing safe?
A: Yes, nail curing is safe when done properly with a led uv lamp gel nails kit.