
Unleash Your Inner Rockstar: The Ultimate Guide to Hair Crimping at Home
Have you ever scrolled through old photos or seen a fashion runway and felt a pang of envy for those bold, textured, voluminous styles? The instantly recognisable zig-zag pattern of Babyliss hair crimpers is making a massive comeback, fusing ’80s nostalgia with modern, edgy glamour. But you don’t need a time machine or a high-priced salon appointment to achieve it. Mastery of this technique is the secret weapon for adding incredible body, texture, and a “woke up like this” confidence to any hair type. Performing this transformative style yourself is a powerful act of self-care, saving you money and putting the creative reins directly in your hands. With the right tools, specifically a reliable Babyliss hair crimpers or a salon-grade professional crimping iron, you can create stunning, long-lasting looks from the comfort of your bathroom. This guide will dismantle the mystery, providing a data-driven, foolproof pathway to crimping mastery.


Babyliss Hair Crimpers: Your At-Home Salon Toolkit
To achieve professional-grade Babyliss hair crimpers, assembling the correct arsenal is non-negotiable. Think of this as building a foundation; using subpar tools or skipping essentials will directly impact the final result, leading to damage or lacklustre texture. Here is your comprehensive checklist:
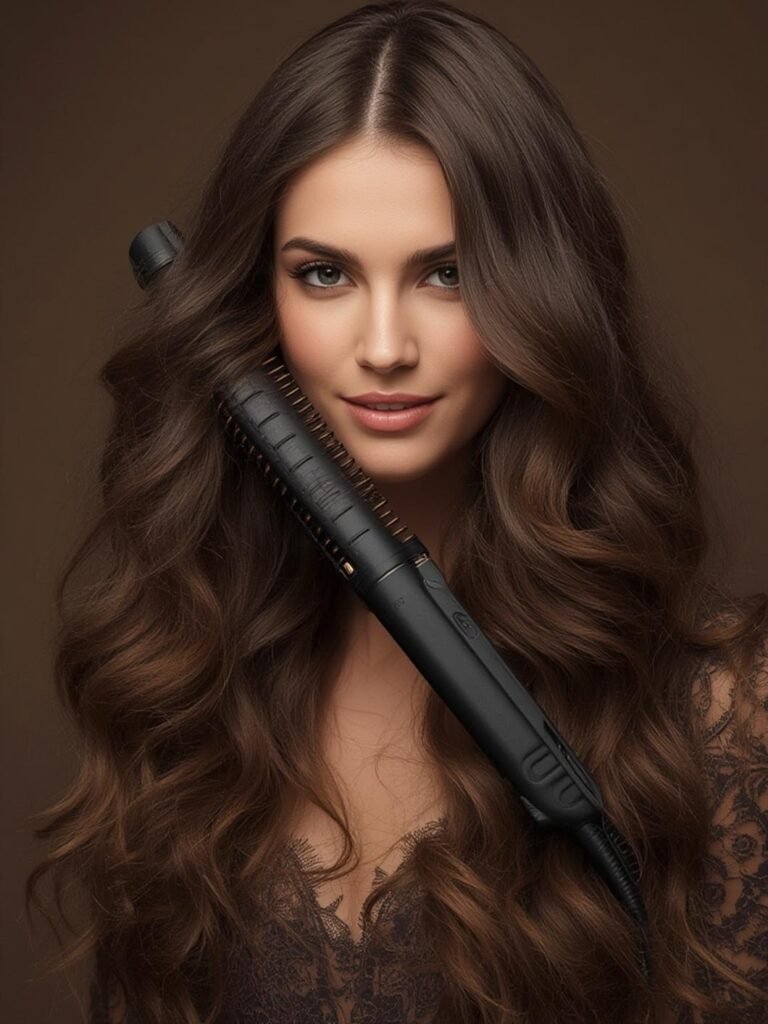
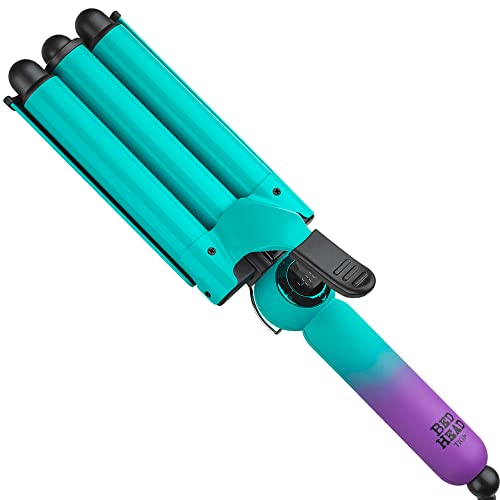
- The Primary Styling Tool: You have two excellent paths. The Babyliss hair crimpers are fantastic for beginners and intermediates, often featuring user-friendly temperature controls and ceramic plates that distribute heat evenly to minimise snagging. For the ultimate in durability, heat consistency, and salon-level performance, a professional crimping iron with titanium or tourmaline plates is the gold standard. Its precision allows for cleaner, more defined crimps on all Babyliss hair crimpers and textures.
- Heat Protectant Spray/SERUM: This is your hair’s non-negotiable bodyguard. A high-quality, lightweight spray or serum creates a thermal barrier, preventing moisture loss and cuticle damage from the high temperatures of your crimping iron.
- Fine-Tooth Comb or Brush: For creating clean, precise sections. A rat-tail comb is ideal for creating subsections, while a paddle brush helps smooth babyliss hair crimpers before crimping.
- Clips (Sectioning Clips): Essential for keeping your work organised. Clip unprocessed Babyliss hair crimpers completely out of the way to avoid accidentally re-crimping or burning strands.
- Wide-Tooth Comb: For gently detangling hair after the process without disrupting the newly formed crimp pattern.
- Hold Products: A flexible hold hairspray or a texturising spray/sea salt spray will lock in the style without making it stiff or crunchy. A light mousse can be added to roots before drying for added volume.
- Microfiber Towel or Cotton T-Shirt: For gently drying hair. Traditional towels can cause frizz and disrupt the hair cuticle.
- Heat-Resistant Gloves (Optional but Recommended): These provide extra protection for your fingers and allow for more confident handling of the hot tool near your scalp.
- Denman Brush or Vent Brush (Optional): Useful for lightly brushing out the crimps for a softer, more lived-in texture after the style is set.
Preparation & Timing: Laying the Groundwork for Success

Success in babyliss hair crimpers is 70% preparation. Rushing this stage is the primary cause of poor results. The process breaks down into three critical phases:
1. Hair Prep (5-10 minutes): Start with completely dry, 100% dry hair. Crimping wet or even damp hair is a recipe for damage and sizzling. Ensure your hair is clean (washed 1-2 days prior is ideal for best texture hold) and free of heavy products. Thoroughly detangle with a wide-tooth comb. Apply your heat protectant spray from mid-lengths to ends, focusing on the areas that will receive the most direct heat. For fine hair, a volumising mousse at the roots can be a game-changer.
2. The Crimping Process (15-45 minutes): This time varies dramatically based on hair length, thickness, and your desired level of coverage (full head vs. sectional accents). Section your hair into 1-2 inch horizontal layers, starting from the nape of your neck and working upwards. Clip the top layers securely away. For each section, take a 1-inch vertical subsection and clamp your professional crimping iron or Babyliss hair crimpers at the roots, hold for 2-5 seconds (time depends on hair health and tool temperature—fine hair needs less time!), and release. Slide the iron down slightly and repeat. For a seamless look, slightly overlap the crimps. Work methodically.
3. Post-Treatment Care (5-10 minutes): Once cooled, gently run your fingers or a wide-tooth comb through the crimps to soften the pattern and add separation. Avoid brushing vigorously. Finish with a flexible hold hairspray, holding the can 10-12 inches from your head. For extra texture, a light mist of texturizing spray can be applied. Allow the style to cool completely before touching or putting on hats/hoodies.
Step-by-Step Instructions: From Flat to Fabulous
Follow these precise steps for guaranteed, head-turning results.
Step 1: The Temperature Test. Always set your tool to the appropriate heat for your hair type. Fine, fragile hair: 250-300°F (120-150°C). Medium, normal hair: 300-350°F (150-175°C). Coarse, resistant hair: 350-400°F (175-200°C). Perform a strand test on a small, hidden section of hair. Crimp for 3 seconds. If you smell burning or see excessive steam, reduce the temperature immediately.
Step 2: Master the Section. Create a horizontal part at the nape of your neck. Clip all hair above this part securely to the top of your head. This isolates your working area. For the bottom section, take a 1-inch vertical slice of hair, starting from one side. The ideal subsection width matches the width of your crimping iron’s plate.
Step 3: The Perfect Crimp Technique. Position the clamp as close to the roots as you can comfortably and safely go (2-3 inches from the scalp). Hold the iron closed for 3-5 seconds. The exact time is learned through your strand test; it should be long enough to set the shape but not so long it cooks the hair. Gently release. Without moving your hand, slide the iron down about 1 inch and clamp again. These overlapping crimps will create a seamless, continuous wave. Do not clamp on already-crimped hair.
Step 4: Work Your Way Up. Complete the entire bottom layer before releasing the top section. Move up to the next horizontal layer, repeat the sectioning and crimping process. For a natural, voluminous look, you can leave the very top layer (crown area) straight or only very lightly crimped at the ends to avoid excessive height.
Step 5: Cool, Tousle, and Set. Allow all crimped hair to cool completely. This “setting” period is crucial for the texture to hold. Once cool, gently shake your head, run your fingers through the hair, or use a wide-tooth comb to soften the pattern and add separation. Finish with a light, flexible hold hairspray. Avoid heavy products that will weigh down the incredible volume you’ve just created.
Beauty Benefits / Advantages: Why Crimping is Your New Secret Weapon
Crimping isn’t just a retro trend; it’s a powerful texturising technique with undeniable benefits:
- Instant, Massive Volume & Body: The zig-zag pattern physically lifts the hair from the root, creating the illusion of thickness and density that is impossible to achieve with a regular flat iron. It’s the ultimate hack for fine or limp Babyliss hair crimpers.
- Texture & Grip for Styles: Babyliss hair crimpers provide incredible texture and “grip,” making up-dos, braids, and half-up styles infinitely easier to create and more secure. Styles stay put longer without pins.
- Conceals Damage & Adds Fullness: The pattern beautifully masks split ends and can make hair appear significantly fuller, especially at the roots.
- Long-Lasting Results: Unlike a simple curl that drops in hours, a properly set crimp can last for days, often requiring only a refresh with a light spritz of water or texturizer.
- Versatility: From a full head of ’80s glam to just crimping the ends for a bohemian vibe or accenting a ponytail, the technique is highly adaptable.
- Alternative Method: For a softer, beach-wave hybrid look, use your professional crimping iron on very large sections or alternate the direction of your crimps. You can also crimp only the underside of your babyliss hair crimpers for hidden volume that others will feel but not immediately see.
Personal Care Advice: Tailoring Your Crimp to Your Life
For Your Hair Type: Fine hair should use the lowest effective heat setting and larger sections to avoid a too-compact pattern. Thick, coarse hair may need higher heat and smaller subsections for a defined crimp. Wavy or Babyliss hair crimpers can benefit from a pre-stretch with a blow-dryer before crimping to ensure uniformity.
Seasonal Adjustments: In humid summer months, use a stronger anti-frizz serum under your heat protectant and a firmer hold spray. In dry winter, prioritize deep conditioning treatments the day before to combat potential moisture loss from heat styling.
Morning vs. Evening Routine: Crimping is generally best done on dry hair, which often means an evening ritual (after washing and fully drying). However, you can crimp second-day Babyliss hair crimpers that is slightly damp from a light water mist to help the style set even longer.
Sensitive Scalp/Areas: Keep the tool at least 2 inches from your forehead, temples, and ears. Use a heat-resistant glove on the hand holding the hair near your scalp. For a sensitive neck, ensure your shirt or a towel protects your skin.
Maintenance Between Treatments: To extend the life of your crimp, sleep on a silk or satin pillowcase. Refresh the style daily with a dry texturising spray or a light mist of water followed by a blast from a Babyliss hair crimpers dryer on cool setting. Avoid excessive brushing.
Common Mistakes to Avoid: The Pitfalls of Poor Crimping
Even with the best tools, these errors can lead to damage, frizz, or a DIY disaster:
- Using Too High Heat: This is the #1 cause of hair damage. Always start low and increase only if necessary based on your strand test. Your hair’s integrity is more important than a few extra seconds of hold.
- Crimping Damp or Dirty Hair: Heat on wet hair causes instant, severe damage (think steam and sizzling). Oil and product buildup will cook onto the babyliss hair crimpers and cause the iron to be sticky or inefficient.
- Crimping Large Sections: Using a subsection wider than your iron’s plate results in loose, undefined waves that won’t last. For a sharp, crisp crimp, your subsections must be narrow.
- Skipping the Heat Protectant: This is a non-negotiable step. It’s the single most effective product for preventing long-term heat damage.
- Clamping on Already-babyliss hair crimpers: This creates kinks, breaks the pattern, and can burn previously heat-processed babyliss hair crimpers. Always work from the bottom layer up, ensuring each subsection is straight before you clamp.
- Poor Tool Hygiene: Product buildup on the plates can cause snagging, uneven heat, and even smoking. Clean your iron regularly according to manufacturer’s instructions.
- Rushing the Cool-Down: Touching or brushing the Babyliss hair crimpers while still warm will immediately relax the crimp pattern. Patience is a virtue—let it cool completely.
Product Care & Maintenance Tips: Protect Your Investment
Your styling tools are an investment in your beauty routine. Proper care ensures they perform optimally for years and remain hygienic.
- Cleaning the Plates: After each use (once cooled), wipe the plates with a soft, dry microfiber cloth. For stubborn residue, slightly dampen the cloth with isopropyl alcohol. Never use abrasive cleaners or soak the plates. Ensure the tool is completely cool and unplugged before cleaning.
- Storage: Always store your crimping iron in a heat-resistant pouch or stand. Never wrap the cord tightly around a hot tool. Let it cool fully on a heat-resistant mat. Store in a dry place away from steam and direct sunlight, which can degrade internal components over time.
- Check for Wear: Periodically inspect the plates for scratches or coating wear. Damaged plates can snag babyliss hair crimpers and indicate it’s time for a replacement.
- Product Shelf Life: Your heat protectant, sprays, and serums have expiration dates. Using old products can lead to ineffective performance or even bacterial growth. Note the “Period After Opening” (PAO) symbol on your products.
- Cord Care: Avoid wrapping the cord too tightly around the handle. This can cause internal wire damage over time. Use the built-in clamp (if your model has one) to secure the cord loosely for storage.
Conclusion: Your Textured Transformation Awaits
Mastering the art of babyliss hair crimpers with a quality babyliss hair crimpers or a durable professional crimping iron is more than just a styling trick—it’s a gateway to unparalleled volume, texture, and personal expression. By dedicating time to proper preparation, respecting the heat, and following the precise technique outlined, you bypass the salon markup and achieve customizable, head-turning results on your own terms. The confidence that comes from mastering a bold look is invaluable. Embrace the texture, play with the style, and make it your own. We’d love to see your crimped creations! Share your photos in the comments or on social media using #CrimpingConfidence. For more at-home beauty transformations, explore our guides on [linking to related post about hair volume or heat styling].
FAQs: Your Crimping Questions Answered
Q1: Will babyliss hair crimpers damage my hair?
A: Not if done correctly. Damage comes from excessive heat, crimping damp hair, and skipping heat protectant. Using a quality tool with even heat distribution (like ceramic or titanium plates), the correct temperature for your hair type, and a dedicated heat protectant spray minimises risk significantly. Proper technique and limiting how often you crimp (e.g., 1-2 times a week max) are key to maintaining hair health.
Q2: How long does a Babyliss hair crimpers style last?
A: A well-executed crimp on clean, dry hair can last 2-4 days, sometimes longer. depends on your hair’s natural texture, products used, and climate. Using a texturising spray and sleeping on a satin pillowcase can extend its life. A light mist of water or dry shampoo can revive the style on day two or three.
Q3: Can I crimp fine or thin hair without it looking stringy?
A: Absolutely. The key is using a lower heat setting (250-300°F), taking slightly larger subsections (1.5 inches), and focusing the crimps starting about 2 inches from the roots to avoid excessive, dense volume at the crown that can look unnatural. A volumizing mousse at the roots before drying and a finishing texturizing spray will add grit without stringiness.
Q4: How often is it safe to crimp my hair?
A: To prevent cumulative heat damage, limit full-head crimping to once a week, with at least 2-3 days between sessions. On off days, use gentle, heat-free styles. For a fresher look, you can lightly re-crimp just the ends or problematic areas between full treatments. Always prioritize deep conditioning treatments 1-2 times a week.
Q5: What’s the difference between a Babyliss hair crimper and a professional crimping iron?
A: The main differences lie in build quality, heat consistency, and durability. The Babyliss hair crimpers are designed for consumer use, often with simpler controls and excellent features for home stylists. A professional crimping iron typically features more advanced materials (like pure titanium), faster heat-up, more precise temperature control in 10-degree increments, and a more robust motor and construction designed for daily salon use. For occasional at-home use, a high-end consumer model like Babyliss is superb. For very thick, coarse hair or if you crimp very frequently, the investment in a professional tool may be worthwhile for its superior performance and longevity.