

Unlock a Sun-Kissed Glow Any Time of Year: Your Ultimate At-Home Self-Tanning Guide
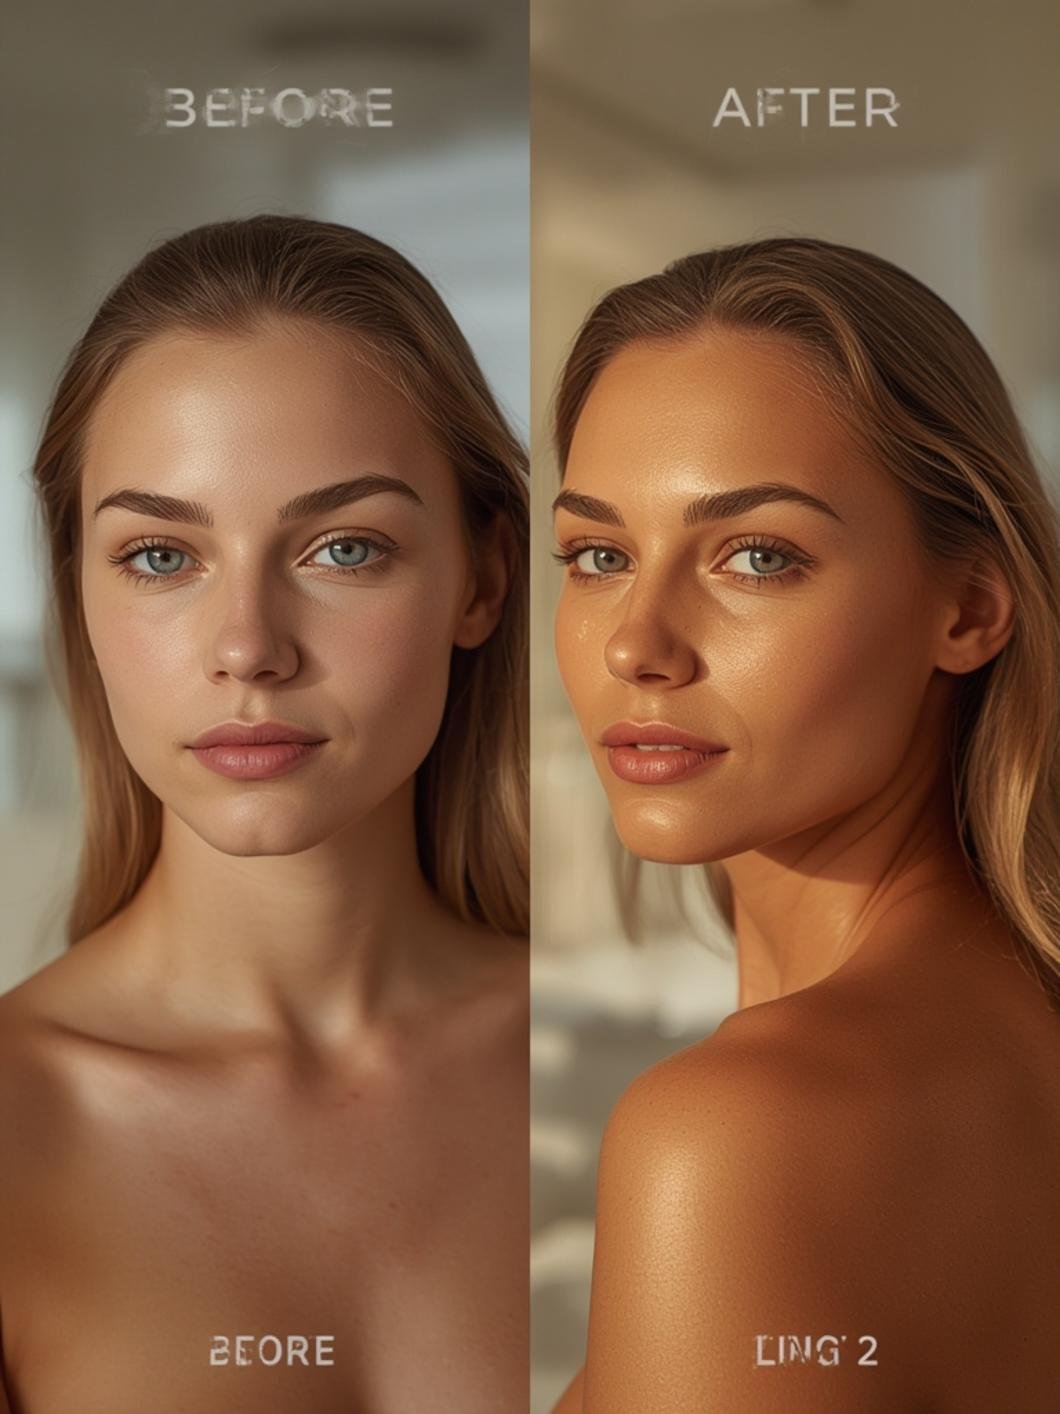
Imagine stepping out of the house with skin that looks like you’ve just returned from a luxurious, sun-drenched vacation—a radiant, even glow that boosts your confidence and makes you feel put-together in an instant. This isn’t a fantasy reserved for summer holidays; it’s a achievable reality with the right tools and techniques. Performing a professional-grade self-tan at home is the ultimate act of self-care, offering a safe, mess-free alternative to harmful UV exposure while providing an instant mood and appearance lift. The key to that flawless, end result lies in a strategic routine, and it all starts with choosing a superior product. For those seeking the pinnacle of at-home bronze, mastering the application of the st tropez self tan kit is a game-changer.
This comprehensive guide will demystify the process, ensuring you achieve a natural, streak-free finish that lasts. Whether you’re prepping for a special event or simply want to maintain a healthy glow, understanding the nuances of application—perhaps even integrating a rapid solution like the st tropez express bronzing mousse for last-minute needs—will transform your routine. Let’s dive into creating your personal golden hour, anytime.


st tropez self tan kit: Your Professional Toolkit
To execute a salon-quality self-tan at home, assembling the right arsenal is non-negotiable. Using subpar tools is the fastest route to streaks, patchiness, and orange tones. Think of this as building your precision kit for a flawless canvas.
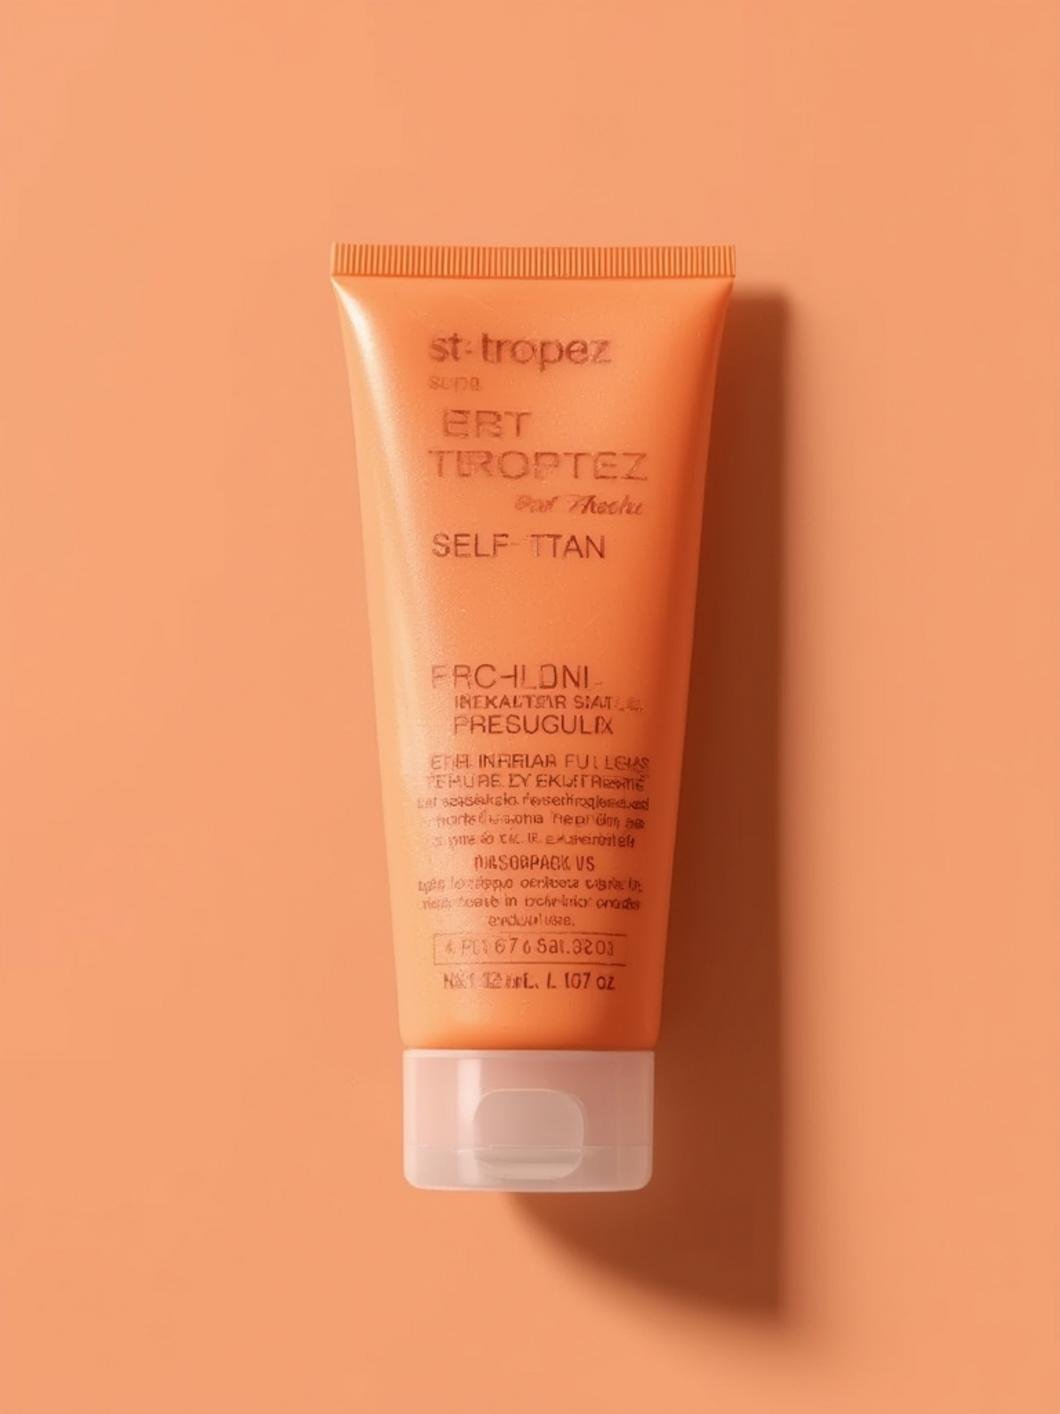
- The Primary Product: At the heart of your routine is your chosen tanning product. The legendary St. Tropez self-tan kit is a complete system designed for synergy. It typically includes a prep product (like an exfoliating mousse or gel) and the self-tanning moisturizer or mousse itself. For those in a rush, the st tropez express bronzing mousse is a phenomenal, fast-absorbing alternative that develops in just 1-2 hours.
- Exfoliator: A physical scrub (like a sugar or salt-based scrub) or a chemical exfoliant (with AHAs/BHAs). This removes dead skin cells, ensuring the DHA (the active tanning agent) binds evenly to fresh skin. Focus on elbows, knees, ankles, and wrists.
Moisturizer (Optional but Recommended): A lightweight, oil-free body moisturizer to apply to very dry areas (like cuticles, between toes) before* tanning. This prevents these spots from absorbing too much product and turning dark.
- Application Tool: A high-quality, dense-bristled tanning mitt is essential. Mitts, preferably with a thumb and separate fingers, provide even pressure and prevent the product from soaking into your palms, which would stain them. Never use bare hands.
- Bowl or Plate: For dispensing a small amount of product if using a lotion, to control the amount you dip into.
- Hair Clips & Headband: To secure hair away from the face, neck, and shoulders. A wide elastic or fabric headband keeps forehead and hairline clear.
- Cool, Loose Clothing: To wear immediately after application. Tight clothes will rub off the product. Think a comfy cotton dress, sweatpants, and flip-flops.
- Timer: Your phone works perfectly. Timing is critical for development and to avoid over-application.
- Paper Towels or Cloth: For any immediate clean-up of drips or mistakes on surfaces like the shower floor.
Investing in these tools, especially the mitt and a dedicated exfoliator, elevates your results from amateur to expert. They ensure even distribution, protect your hands, and create the smooth base necessary for a wearable tan.
Preparation & Timing: The Foundation of Flawlessness
Success is 80% preparation. Your skin’s condition before application dictates the final outcome. Plan your ritual for an evening before a day off or an event.
- Phase 1: Prep (5-10 minutes, 12-24 hours before application): The day before your tan, exfoliate your entire body thoroughly in the shower. Pay extra attention to rough areas. Follow with a light, oil-free moisturizer if your skin is very dry. On the day of, shower with a gentle cleanser (no moisturizing bars or oils) to ensure a completely clean, residue-free surface. Do not apply any lotions, deodorants, or perfumes after showering. Skin should be completely dry.
- Phase 2: Application (15-30 minutes): This is your focused “me-time.” Apply in a well-lit room, preferably with a full-length mirror. Work systematically from feet upward. The key is using a small amount of product and building color gradually.
- Phase 3: Post-Tan Care & Development (5 minutes to overnight): Once applied, dress in your loose clothing and avoid sweating, exercising, or getting wet for the recommended development time (usually 4-8 hours for most lotions/mousses, or 1-2 for express formulas like the St. Tropez Express Bronzing Mousse). Sleep in loose clothes if applying at night. After development, rinse with lukewarm water (no soap for the first rinse if possible) and pat dry. Moisturize daily to prolong the tan.
Blocking out this timeline prevents rushing, which is the enemy of an even tan. The waiting period is part of the process; embrace it as your beauty investment paying off.
Step-by-Step Instructions: Your Path to a Perfect Glow
Follow these steps precisely for a salon-finished result.
1. The Final Prep: Ensure your skin is clean, dry, and free of all products. Put on your headband.
2. Apply to Dry Areas First: Squirt a small amount (pump or pea-sized) of product onto your tanning mitt. Start at your feet and ankles. Use long, sweeping motions with light pressure. Go over each area 2-3 times to ensure even coverage. Be meticulous around ankles and between toes.
3. Work Up the Body: Move to your lower legs, then thighs. Use circular motions on the thighs and buttocks to cover all curves. For your stomach and chest, use downward strokes. For your back, you may need assistance or a long-handled brush/mitt.
4. The Tricky Zones (Elbows, Knees, Hands): For knees and elbows, bend the joint to stretch the skin, then apply a very thin layer with a gentle patting motion. These areas absorb more product. For hands, apply product to the mitt, then sweep over the tops and sides of your hands very lightly, avoiding fingers and cuticles (which you pre-moisturized). Use a tissue to wipe between fingers immediately.
5. Face and Decolletage: Use a product specifically formulated for the face, or apply your body product extremely sparingly to avoid an orange cast. Use a dedicated facial mitt or your fingertips for control. Blend downward from your hairline. Avoid the eye area and lips entirely.
6. The Final Check: In a full-length mirror, check for any missed spots or uneven patches. Use a tiny bit more product on your mitt to blend any heavy areas. The goal is total uniformity.
7. Clean Up & Dress: Wash your palms immediately and thoroughly with soap and warm water. Dress in your loose clothing. Sit or stand still for 15-30 minutes to let the product set before sitting on furniture.
8. Development Time: Wait the full development time specified by your product. For the st tropez express bronzing mousse, this may be as short as 1-2 hours. For the full st tropez self tan kit system, plan for 4-8 hours or overnight.
9. Rinse and Reveal: After development, take a lukewarm shower. Let water run over you for a minute before gently washing with a mild soap (if needed). You will see a temporary darker color wash off—this is the bronzer. Your true, developed tan will emerge as your skin dries. Pat skin dry and apply a daily moisturizer.
Pro Tip: For a longer-lasting, deeper tan, you can use the st tropez self tan kit’s moisturizer as a gradual tanner in the days following your initial application.
Beauty Benefits & Advantages: More Than Just Color
A flawless self-tan is a multi-faceted beauty booster. Beyond the obvious aesthetic enhancement of a sun-kissed glow, it offers tangible benefits.
- Instant Slimming and Definition: A bronze tan creates a visual contour, making muscles appear more defined and the body look slimmer and more toned. It minimizes the appearance of skin imperfections like cellulite, bruises, or stretch marks, providing a smooth, even canvas.
- Anti-Aging Illusion: Tanned skin reflects light differently, creating a healthy, luminous appearance that diminishes the look of fine lines and dullness associated with dry or pale skin. It imparts an immediate “vacation glow” that signals vitality.
- Skin Conditioning: Quality self-tanners like those from St. st tropez self tan kit are often infused with hydrating and antioxidant ingredients (like aloe vera, squalane, or vitamins C & E). These ingredients nourish the skin during the tanning process, improving texture and softness over time.
- Boosted Confidence: There’s no underestimating the psychological lift. Wearing a color you love and feel confident in changes your posture, your smile, and your entire demeanor. It’s wearable confidence.
- Versatility and Control: Unlike the sun, you control the intensity. You can build a subtle, barely-there glow for a natural look or develop a deep, exotic bronze for a dramatic effect. You can tan specific areas you want to enhance.
Personal Care Advice: Tailoring Your Tan to Your Life
Your tanning routine isn’t one-size-fits-all. Adapt it to your lifestyle and environment.
- Morning vs. Evening: Evening application (shower, apply, sleep, rinse in AM) is ideal as it avoids the development phase during your active day and allows the tan to set undisturbed. However, using an express mousse like the st tropez self tan kit express bronzing mousse allows for a quick morning routine: apply, wait 1-2 hours, rinse, and go.
- Seasonal Adjustments: In winter, skin is drier. Increase exfoliation and ensure heavy moisturization on elbows/knees beforehand. In humid summer, sweat can cause patchiness. Apply in a cool, air-conditioned room and avoid sweating for at least 4 hours post-application.
- Sensitive Areas: For the face, use a dedicated facial tanner or dilute your body tanner with moisturizer (1 part tanner : 2 parts moisturizer) for a sheer wash. For sensitive skin, always perform a 24-hour patch test on the inner arm. Avoid the eye area, lips, and mucous membranes entirely.
- Maintaining Results: To prolong your tan, hydrate daily with a moisturizer containing DHA or a gradual tanner. Use a gentle, sulfate-free body wash to prevent stripping. Exfoliate lightly every 2-3 days to ensure an even fade and prepare for your next application.
Common Mistakes to Avoid: The Pitfalls of a DIY Tan
Even with the best st tropez self tan kit, errors in technique can derail your results.
- Over-Application: This is the #1 cause of orange, streaky tans. Less is more. Start with a small pump of product and build color. You can always add another layer after 24 hours if you need more depth.
- Skipping Exfoliation & Moisturizing Prep: Applying tanner on flaky, dry skin guarantees patchiness where dry skin patches repel the product.
- Using the Wrong Mitt or Your Hands: A regular sponge or, worse, bare hands will lead to uneven absorption and stained palms. A dedicated, clean tanning mitt is non-negotiable.
- Not Blending at Joints: Failing to blend well at wrists, ankles, and knees creates obvious “cut-off” lines. Always extend the product slightly past these areas and blend thoroughly.
- Rushing the Development Time: Washing off the product too early prevents the full DHA reaction, leading to a weak, uneven color that fades quickly.
- Not Using Enough Product on Large Areas: Skimping product on your back or thighs means those areas will be significantly paler than your front. Ensure you have enough product to cover your entire body in a thin, even layer.
- Applying Over Deodorant or Perfume: This can cause green or brown discoloration. Ensure skin is completely clean.
Fix-It Tip: If you spot an obvious streak immediately, wipe it gently with a damp cloth or paper towel on the mitt. If the mistake is noticed after development, you can blend it with a little more product on a small area or exfoliate that specific spot lightly and reapply.
Product Care & Maintenance Tips: Protect Your Investment
Your tanning products and tools are beauty investments. Proper care ensures efficacy and hygiene.
Mitts & Brushes: Wash your tanning mitt after every 2-3 uses with mild soap and cold water. Squeeze out excess water and air-dry completely before* storing. Do not wring or machine dry, as this can damage the fibers. For brushes used for face tanning, use a brush cleanser.
- Product Storage: Store all self-tanning products in a cool, dry place away from direct sunlight (e.g., not in a steamy bathroom). Heat and light can degrade the DHA and other active ingredients, reducing effectiveness and changing color. Keep lids tightly closed.
- Check Expiration Dates: Most self-tanners have a shelf life of 12 months after opening. Using expired product can lead to poor development, off-colors (like orange), and reduced effectiveness. Note the “period after opening” (PAO) symbol on the packaging.
- Avoid Contamination: Never dip fingers directly into the product bottle. Always dispense onto your mitt or a clean surface to Prevent bacterial growth and product degradation.
- Traveling with Products: Ensure bottles are sealed tightly to prevent leaks in your luggage. Consider using travel-sized versions or decanting into small, airtight containers.
Conclusion: Your Journey to Effortless Radiance
Mastering the art of at-home self-tanning is a rewarding skill that combines technique with self-indulgence. The journey—from meticulous preparation to the careful, methodical application—is a ritual that prioritizes your well-being and appearance. By investing in quality tools like the comprehensive st tropez self tan kit and understanding the principles of even distribution and skin prep, you unlock a consistent, gorgeous glow. For moments when time is of the essence, the st tropez express bronzing mousse proves that speed and quality can coexist. Remember, the most beautiful tan is one that looks like your own skin, just better. It’s about enhancement, not disguise. Embrace the process, learn from minor mistakes, and soon, achieving that sun-kissed, confident radiance will become a simple, joyful part of your beauty regimen. Your best, most luminous self is just a few steps away.
Frequently Asked Questions
1. How long does a self-tan from the st tropez self tan kit typically last?
With proper aftercare (daily moisturization and avoiding prolonged hot showers/saunas), a well-applied tan using the st tropez self tan kit system typically lasts between 5-7 days before beginning to fade evenly. Using a gradual tanner in your daily moisturizer can extend this.
2. Can I use the St. Tropez Express Bronzing Mousse on my face?
While the mousse is technically a body formula, many with non-sensitive skin use it sparingly on the face. For best results and to avoid an orange tone, it’s highly recommended to use St. Tropez’s dedicated Face Tan products, which are formulated with a lower concentration of DHA and specific pigments for a more natural, buildable color.
3. Why does my tan look orange or muddy?
This is usually caused by over-application, using too much product, or applying it to skin that wasn’t properly exfoliated (allowing product to cling to dry patches). It can also happen from applying over residue (like lotion or deodorant) or using an expired product. Always patch test new products and follow the “less is more” rule.
4. How often can I safely re-apply self-tanner?
You can apply a new full coat once the previous tan has faded significantly (usually after 5-7 days). Applying too frequently without allowing the first coat to fade will lead to a buildup and uneven, dark appearance in dry areas. For maintenance, use a gradual tanner daily or every other day.
5. Will self-tanner protect me from the sun?
Absolutely not. Self-tanner contains DHA, a color additive that stains the skin’s surface. It provides zero SPF protection. You must always apply a broad-spectrum sunscreen (SPF 30 or higher) when going outdoors, even if you have a tan. A tan does not equal sun protection.